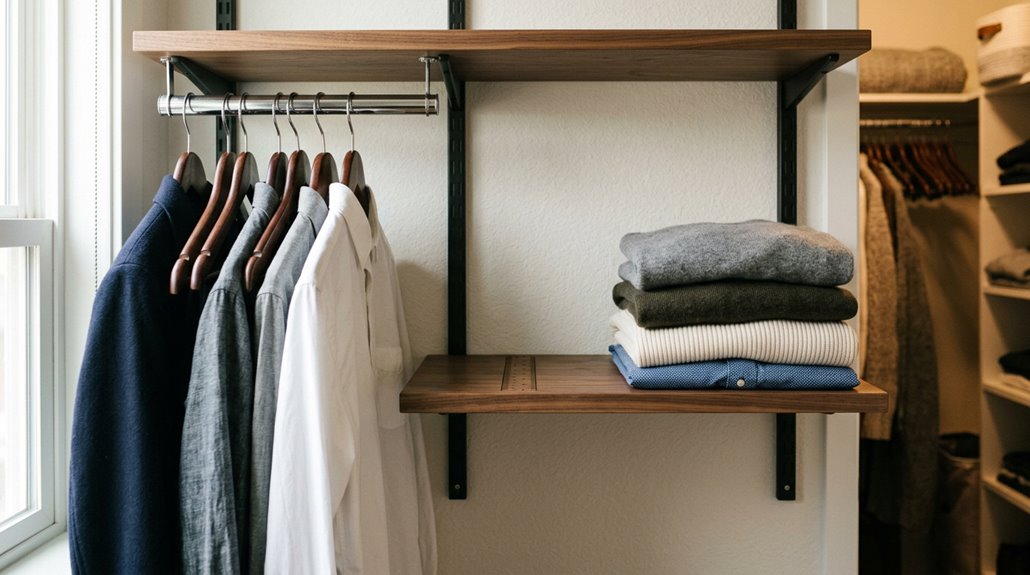
Look, I’d start by checking what you’re actually storing—shoes, folded clothes, or bulky sweaters make a difference. For reach-in closets, twelve inches is your sweet spot; it keeps everything visible and reachable without awkward arm movements.
Walk-ins? Go sixteen inches if you’ve got the space.
The real trick is balancing what fits against what you can actually grab without frustration, plus considering your door swing and header clearance. Measure your stuff first, and there’s a lot more to unpack about making this work perfectly.
Start With Your Stuff: How to Determine the Right Depth
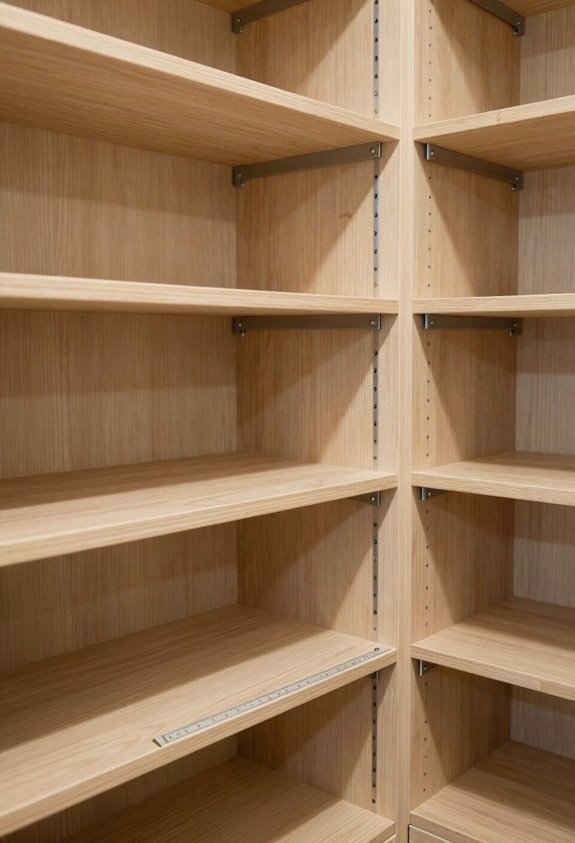
Before you measure walls or check shelf specifications, examine what you’re actually storing. Grab your favorite shirts, sweaters, and boxes you use regularly, then measure them. This step will guide your entire depth decision.
You want shelves deep enough that nothing slides toward the back unused, but not so deep that you can’t reach anything without stretching uncomfortably. Consider what you use daily versus what simply occupies space. Matching your storage depth to your actual items and comfortable reach creates the right solution.
The 12-Inch Sweet Spot for Reach-In Closets
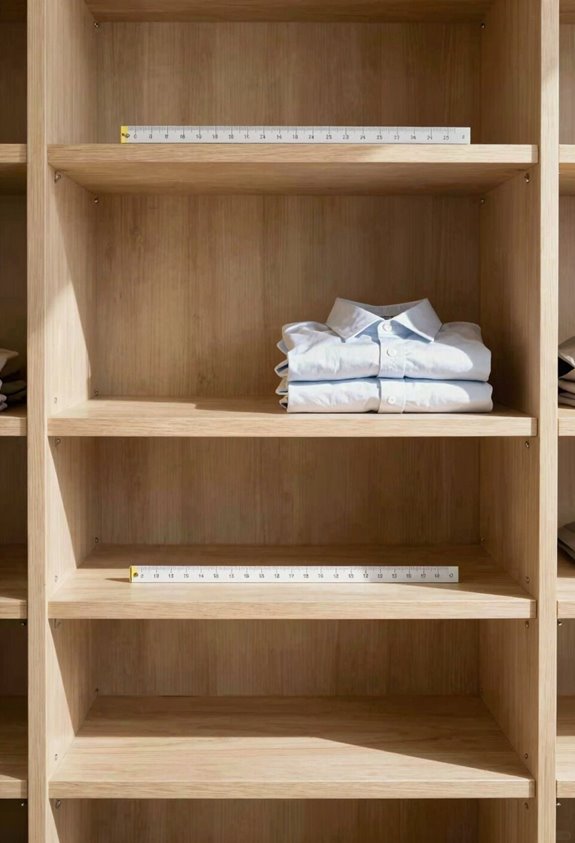
Why do so many closet designers keep coming back to 12 inches. It’s because 12-inch depth actually works. You get visibility with no mysterious dark zones hiding your stuff, you can reach everything without contorting your arms, and your top shelf stays accessible even with standard door headers. With 16-inch shelves, you’re cramping your elbow room and creating dead zones you’ll never use. This happens frequently. The 12-inch depth lets you organize shoes, folded clothes, and accessories without that claustrophobic feeling, balancing what you need with what you can actually grab. Designers and real people agree. This sweet spot keeps your closet feeling open and functional, not cramped or frustrating.
Why 16-Inch Shelves Work Best in Large Walk-Ins
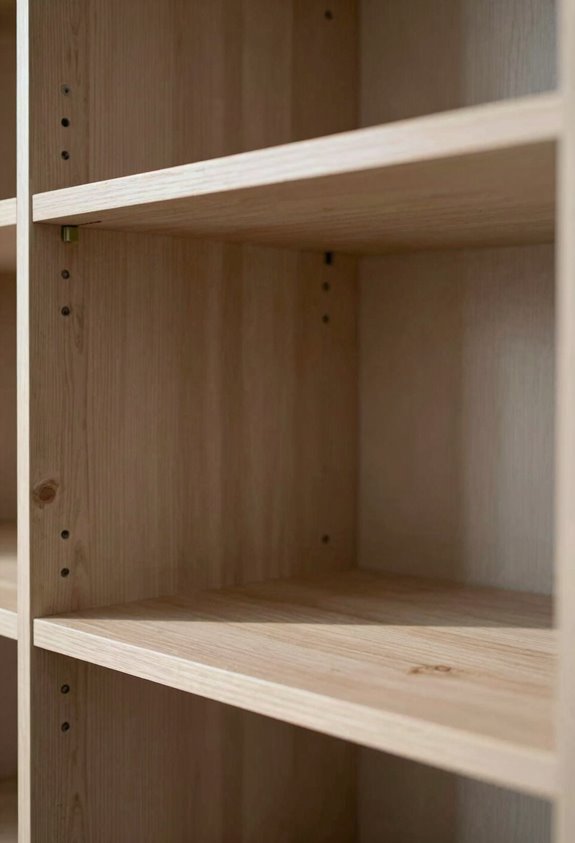
Now, if you’ve got yourself a proper walk-in closet, the kind where you can actually turn around without knocking your elbows into things, 12 inches suddenly feels insufficient.
That’s where 16-inch depth comes in. This is the goldilocks zone for larger spaces. You get serious storage capacity without sacrificing your actual walkway, since tripping over your own feet while grabbing a sweater defeats the purpose.
Here’s what makes it work:
- Holds folded blankets and bulky bins without tipping
- Stacks jeans, handbags, and sweaters comfortably
- Leaves roughly 28 inches to walk around
- Supports solid wood without sagging under weight
- Balances storage with actual usable floor space
16 inches provides the optimal balance between maximum storage and functional living space.
The 5-Foot Rule: Balancing Storage and Walkway Space
I’ve learned that the magic happens when you do the math on your actual walkway width. If you’ve got a 5-foot-wide closet, which is pretty standard, you can’t just slap deep shelves on both sides and expect to move around comfortably. When I work through the layout, I’m calculating how much space those shelves eat up on each side, then checking what’s left down the middle for you to actually walk and reach things without feeling like you’re squeezing through a hallway. It’s less about following some fancy rule and more about making sure your closet actually functions the way you want it to; storage that works without sacrificing your sanity.
Walkway Width Calculations
How much space do you actually need to move around comfortably in a walk-in closet?
You’re balancing storage depth against walkway width, and it’s trickier than it sounds. Here’s what works:
- A 5-foot-wide space with 12-inch shelves on both sides keeps your walkway width around 28 inches (comfortable)
- Going deeper (16 inches) on each side squeezes that same walkway, creating a tight, cramped vibe
- That 28-inch minimum walkway width lets you move freely without feeling boxed in
- Shallow shelves reduce dark zones where things disappear behind doors or headers
- You’ll actually use your closet more when you can navigate it easily
The sweet spot: prioritize that walkway width. A comfortable walkway width makes daily use more practical and increases how often you actually access your closet.
Five-Foot Layout Optimization
The 5-foot width is where everything gets real. You can’t just stuff both walls with deep shelves and hope for the best. When I pushed 16-inch shelves on both sides, my walkway shrank to about 28 inches, and it felt suffocating. Depth helps only if you can actually move through your closet comfortably. I switched to 12-inch shelves instead, keeping a solid 5-foot passage down the middle. This is the sweet spot. You’re not sacrificing walkability for storage, and there’s no dark zone creeping in from shadowy corners. Quality wood at that depth looks intentional and custom, not cramped. Your daily routine becomes genuinely easier.
Doors and Headers: Why They Limit Your Depth Options
When you’re planning your closet shelves, your door and the header (the structural beam at the top of your closet opening) create practical constraints for shelf depth.
Here’s why depth matters so much:
- Door swing interference – Deeper shelves get in the way when you’re opening and closing, making everything feel cramped
- Header clearance issues – Top shelves bump into the beam, leaving dead space you can’t actually use
- Sliding door overlap – These doors eat up center access, so you need shallower shelves to move around freely
- Eye-level accessibility – Deeper shelves create unreachable shadows near the top, wasting prime real estate
- Elbow room – You need breathing space when you’re reaching in and grabbing stuff
Keeping things practical instead of pushing maximum depth will give you functional storage that actually works with your closet’s physical limitations.
Ventilated Wood and No-VOC Finishes: The Health Factor
Beyond just fitting stuff in your closet, what you build it from matters for your health and your clothes’ wellbeing. Ventilated wood shelving lets your clothes breathe, which reduces musty smells. Pairing breathable wood with No-VOC finishes (volatile organic compounds, or non-toxic stains) prevents toxic chemicals from off-gassing into your space. Your fabrics stay fresher longer because moisture doesn’t trap around them. This approach improves air quality, extends fabric life, and eliminates chemical exposure from finishing products.
Deep vs. Shallow: Trade-Offs in Access and Capacity
Once you’ve determined healthy materials for keeping your clothes fresh, the next consideration is shelf depth.
Deeper shelf depth allows you to store more items, but you risk items becoming inaccessible in the back. Shallower shelves make it easier to grab items, though you sacrifice storage capacity.
Consider these options:
- Deeper shelves (16+ inches) maximize capacity but create unreachable “dead zones”
- Shallow shelves (12 inches) keep everything within arm’s reach
- Walk-in closets demand narrower depths to keep pathways comfortable
- Reach-ins benefit from shallow shelf depth for visibility
- Your lifestyle should determine what actually works for you
Match your shelf depth to what you actually store and how you live.
Solid Wood or Budget Shelving: Comparing Durability and Cost
How much are you willing to spend to avoid watching your shelves sag under the weight of your winter coats? Solid wood shelves are significant upgrades. They resist warping and the sagging that occurs with cheaper laminate options. Solid wood projects cost $600 to $2,500 depending on what you’re building, but you’re investing in something that won’t need replacing every few years. Budget shelving is cheaper upfront, but you’ll likely reinforce or replace it eventually.
The most practical approach combines solid wood for heavy-load areas with budget shelving elsewhere. You get furniture-grade appearance, genuine durability where it matters most, and you avoid unnecessary spending.
Measure Twice, Buy Once: Getting Your Depth Right
I’ve learned the hard way that you need to measure your actual stuff first. sweaters, boxes, whatever you’re storing. guessing wrong means everything ends up crammed in back where you can’t see it. You’ll also want to think about how you’ll actually reach things. those top shelves become inaccessible if your door swings open and blocks access. Checking whether standard plywood sheets fit your measurements saves you from annoying cuts and wasted money. Get this step right, and you’ll spend less time frustrated and more time actually using your closet effectively.
Measure Your Actual Contents
Before you order those shelves, you need to actually measure what you’re planning to store on them, not just eyeball it and hope for the best. I learned this the hard way when I bought shelves that couldn’t fit my folded sweaters.
Here’s what I do now:
- Measure your deepest item’s width, height, and depth (folded sweaters, storage bins, shoe boxes)
- Add 1–2 inches of clearance so nothing’s crammed in tight
- Check drawers, bins, and hanging items like hats or scarves
- Verify depth against your closet’s actual door openings
- Account for overhung items that might stick out
This simple process prevents frustration and wasted money. Getting it right the first time eliminates costly returns and reorganization later.
Account For Access Constraints
You can measure your stuff perfectly, but if you can’t actually reach it or see it once it’s on the shelf, you’ve basically failed the whole mission. I learned this the hard way with a closet that looked great but trapped everything in shadow. The depth of shelves matters far more than just fitting things. It’s about living with them daily.
| Constraint | What Happens |
|---|---|
| Low header height | Deep shelves create dark zones you can’t see into |
| Narrow doorway | Items get stuck; you can’t grab anything |
| Tight walkway | Bumping stuff constantly gets frustrating fast |
12 to 16 inches hits the functional sweet spot where you can actually grab what you need without playing closet Tetris or squinting into darkness.
Verify Plywood Sheet Efficiency
How much material are you actually going to waste when you cut those shelves?
This is where plywood efficiency really matters. Here’s what I’ve learned:
- 12″ shelves cut cleaner from standard sheets with minimal waste
- 15.5″ depth splits the difference between storage needs and material usage
- 16″ shelves generate frustrating offcuts that you’ll probably toss
- Account for kerf losses (that’s the material the saw blade removes; it adds up)
- Plan your layout before buying anything, because improvising costs money
When I’m planning a project, I map out exactly how many vertical pieces I’m getting from each sheet. A 4-by-8 plywood sheet is your canvas, and choosing the right depth means you’re not throwing away usable material. This reduces waste and saves money on each project.
From DIY Kits to Custom Installation: What to Budget
When it comes to building out your closet shelves, budget is the biggest factor in deciding whether you’re going the DIY route or calling in the professionals. DIY kits run you roughly $600 to $2,500, which is achievable for most people. Custom installations jump to $4,000 to $12,000 or more, and while they offer gorgeous furniture-grade finishes, they represent a significant expense. John Louis Home’s solid wood options provide a middle ground; premium quality without the custom price tag. Plan for 12-inch shelf depth as your budget-friendly baseline, then upgrade to 16 inches if your space and budget allow. Measure twice, buy once.