
The range is wide: at one end a bamboo tray that gives every spatula and whisk its own slot, at the other a microwave set into white cabinets, which means cutting the cabinet opening to fit.
Which one is yours depends on what your kitchen is wasting: empty height above a shelf, the back of a cabinet door, or a counter with no room left.
Measure the shelf, drawer, or door before you buy, since Drawer Organizers, Shelf Risers, and Pull-out Shelves all come in set widths and depths.
1. Drawer Organizers

A bamboo tray with separate slots for forks, spoons, knives and a slotted spoon does one job well: you stop rummaging. Everything has a lane, so the drawer reads at a glance.
Pick an organizer that fills the drawer edge to edge, because a tray that slides around brings the mess back. Measure the drawer’s width and depth first, then buy the tray.
2. Lazy Susans

Corner cabinets swallow things. A rotating shelf fixes that by bringing the back of the cabinet to you with one spin, so almond milk, bottled water and formula stay easy to grab.
I like this best for bottles and snack packs, anything you reach for daily. Skip it for tall, top-heavy items that could tip as the shelf turns.
3. Pegboard Storage
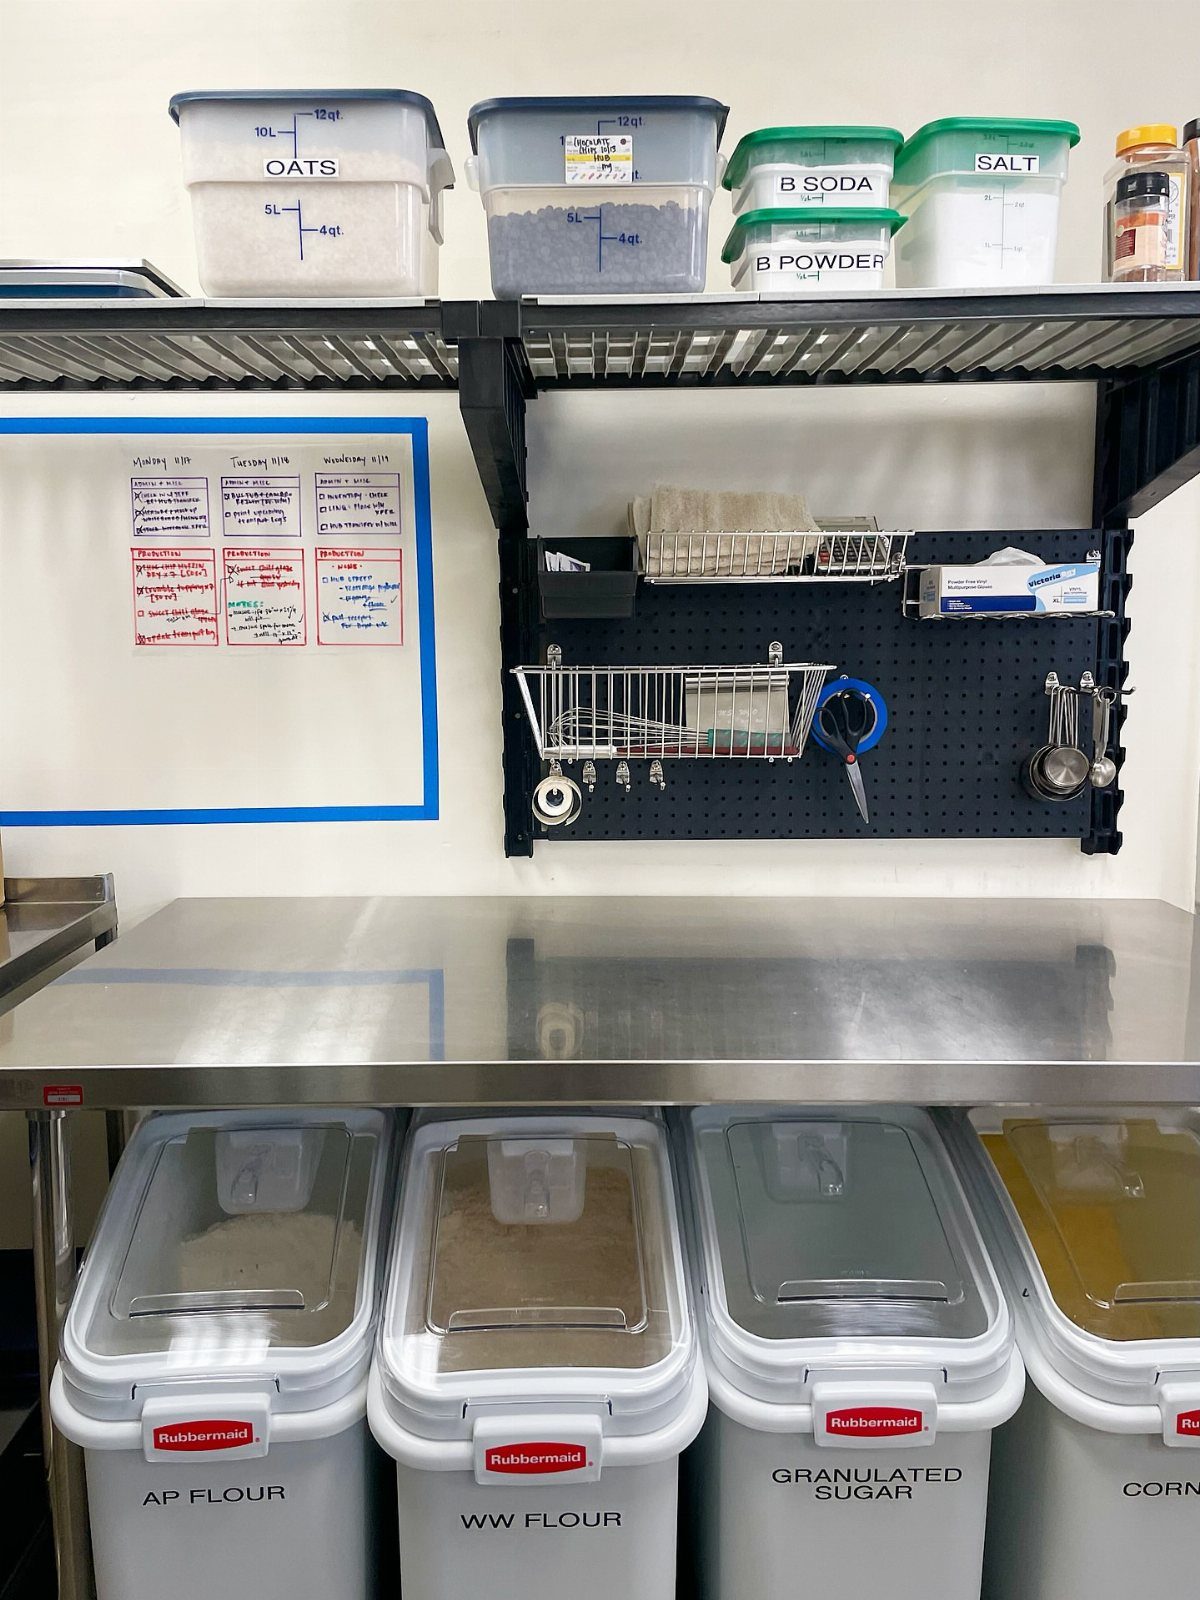
Scissors and measuring cups hang on a black pegboard, so the drawers underneath stay free for other things. A pegboard is also the one storage piece you can rearrange in a minute when your cooking habits shift.
Mount it where you actually work, near the prep area, and hang your most-used tools first. Leave a few empty holes for whatever you buy next.
4. Pull-out Shelves

Digging for a pot lid at the back of a cabinet is a daily annoyance, and sliding metal shelves end it.
Each tier rolls out fully, so pans, pots and a cutting board are all in view from above instead of buried behind each other.
For a budget fix, look for add-on sliding units that fit a cabinet you already have. Multiple tiers hold more, but I would stick to one or two if the cabinet is shallow.
The YouCopia MagicTrack Rectangle Turntable is able to hold 50% more than a standard round turntable.
5. Hooks Inside Cabinet Doors

Nobody uses the inside of a cabinet door, and that is exactly why it works.
Black holders for paper towels, foil and a brush turn dead space into a spot where those rolls are one reach away, while the shelves behind keep containers and cookware.
Check clearance before you mount anything: the door has to close without hitting the shelves. Light, slim holders suit it best.
6. Kitchen Carts
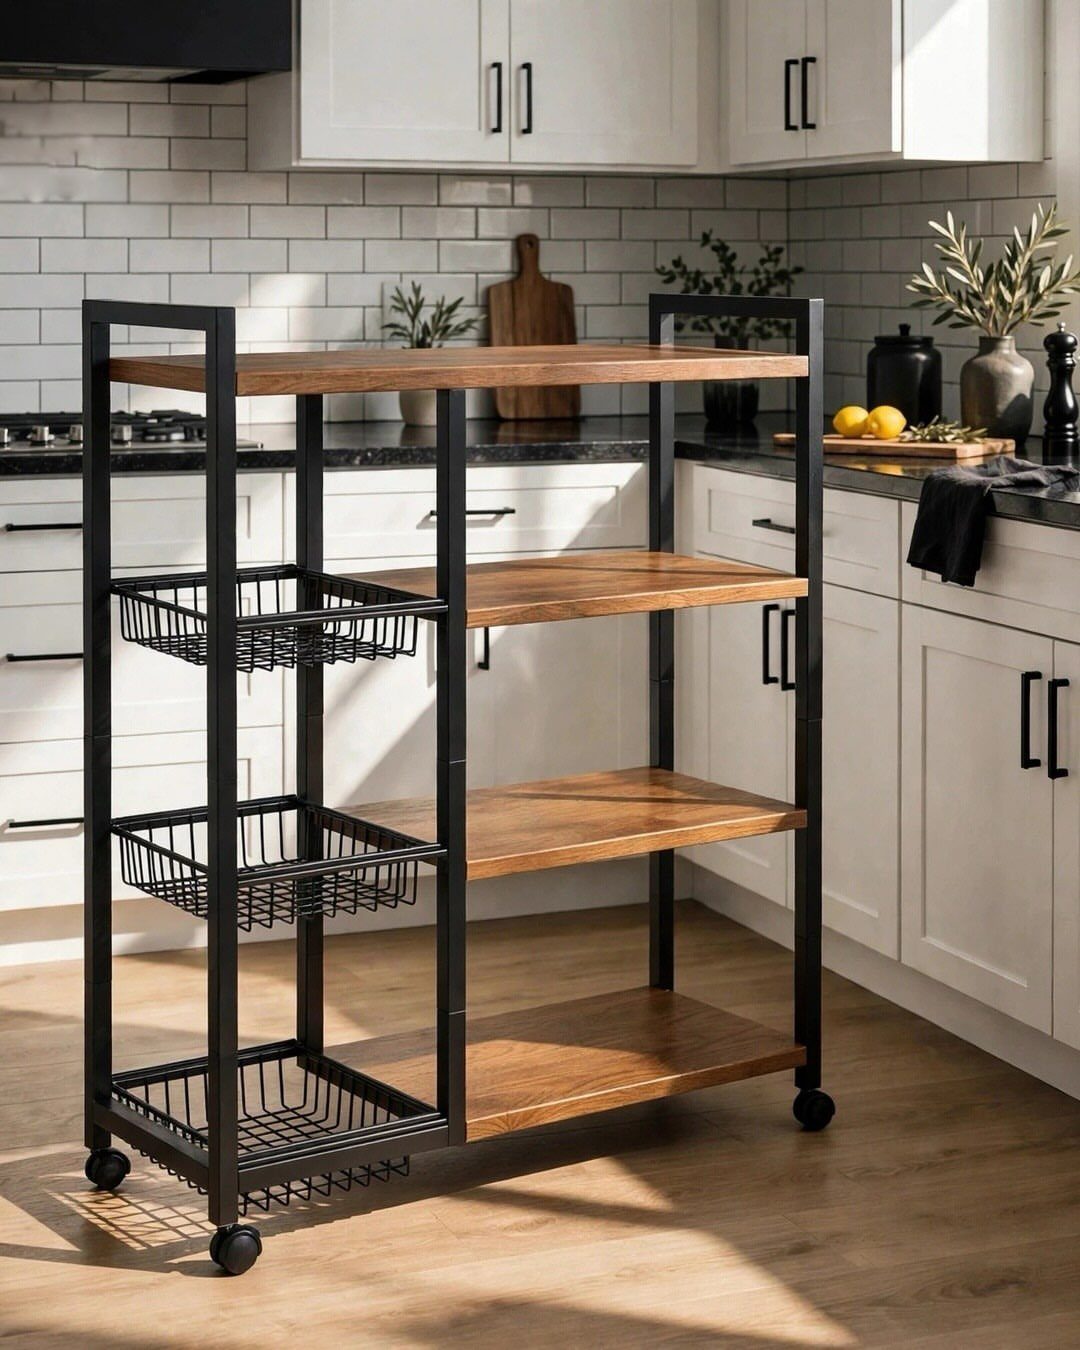
A rolling cart gives a kitchen with too little cabinet space somewhere new to put things. A 3-tier cart pairs wooden shelves with wire baskets, so small appliances sit on the wood while loose gadgets go in the baskets.
Wheels are the real selling point: park it by the counter while you cook, then tuck it back out of the way. I would pick a cart with locking casters, so it stays put when you load it.
7. Sink Dish Organizer

An over-the-sink rack that hooks onto the basin edge lets plates, bowls and utensils drain right above the water, which saves counter space you probably don’t have to spare.
Nothing sits on the counter, so a small kitchen gets that space back.
I prefer a rack with an open frame, since air reaches every dish and they dry faster. Load plates upright and put utensils in the side cup.
8. Spice Organizers
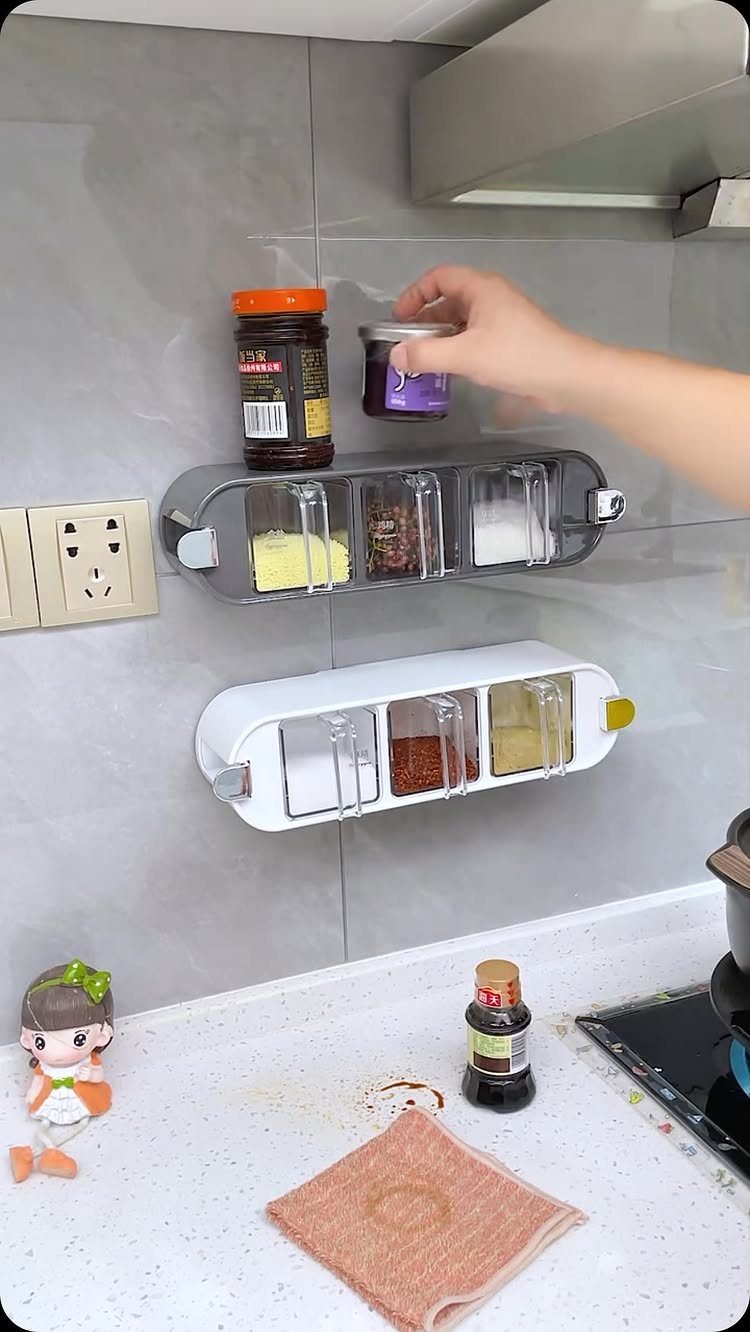
Wall-mounted spice racks with clear lids pull jars off the shelf and onto a spot you can read in one look. On a tiled wall they also cost you no counter or cabinet space.
Mount a second rack directly above the first and keep the daily spices at eye level. Clear lids let you see what is running low before a recipe stops you.
9. Pull-out Cabinet Organizers

Most cabinets hide their best storage in the back. Chrome wire baskets that slide out on a track bring pots, small appliances and bakeware forward, so you stop kneeling to hunt for them.
Sizing decides whether a unit fits. The maker of this one lists a cabinet opening of 15" or 18" wide, 21" high and about 20.25" deep.
Grab a tape measure and get the inside width, depth and height of the cabinet opening first, since the door frame often narrows the space.
10. Stacking Shelves

Stack two shelf units inside a cabinet and one tall, empty space becomes two usable levels. Perforated bins hold containers on the lower tier, and the top surface takes a heavy pot.
I would put the lightest items up top and the everyday containers at the front. White plastic wipes clean fast, which helps in a cabinet near the stove.
11. Open Shelves

Wood warms a kitchen with blue cabinets, and nothing is hidden behind a door.
Open shelving works best for items you use daily and like looking at, such as a toaster or a stack of boards. It also means dusting, so keep the display small.
12. Deep Drawers

Lids stop sliding around, and you pull everything out in one motion instead of reaching into a cabinet.
I like this for heavy cookware, since a drawer carries weight better than a shelf you reach over.
Measure the drawer width first and compare it to the rack’s listed size, since a rack even half an inch too wide won’t sit flat.
13. Under-shelf Baskets

A wire basket that hangs from the underside of a shelf adds a storage layer where there was only empty air.
An under-shelf basket can hold a stack of plates, and a paper towel roll can hang from the same spot below it.
Measure the gap between the shelf and whatever sits under it first, so the basket clears the counter and the items inside.
14. Shelf Risers
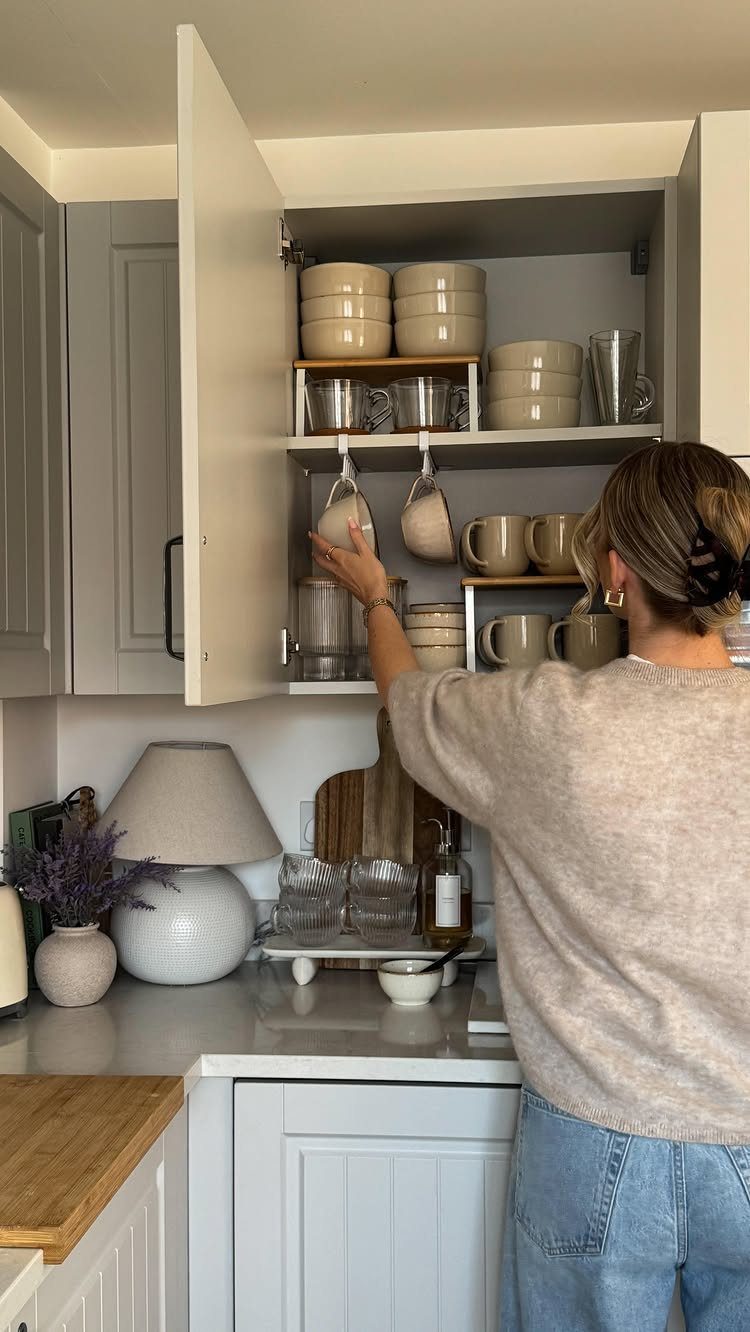
Cabinets waste height. A set of white risers puts mugs and bowls on a second level, so the dishes behind are no longer hidden and you can grab a glass without moving a stack.
I would pick risers that sit flat and stay put, since a wobbly step makes a tall cabinet harder to use. Put the everyday pieces on the front tier.
15. Airtight Glass Containers

A tall glass jar with a wooden lid works well for spaghetti: it looks tidy on a shelf, and you can see how much is left at a glance. A sealed lid keeps dry goods closed between uses.
I like a wide mouth, since it lets a hand in without spilling. Buy a few matching jars in one height so the shelf stays orderly, and label anything that looks alike.
16. Wall-mounted Knife Rack

A magnetic wood rack on a tiled wall moves knives off the board and out of the drawer, so the counter below stays clear for chopping.
Mount it close to where you prep, at a height you reach without stretching. Hang the knives you use daily within easy reach and keep the blades dry before they go back on.
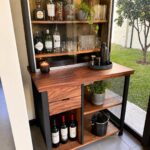
17. Butler’s Pantry

Water jugs and jars of pasta, rice, flour, sugar and oats fit on the same shelves, and a label on each jar saves guessing.
I would keep appliances at waist height and put heavy ones lower. It takes real floor space, so it suits a kitchen with a spare nook, not a galley.
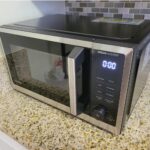
18. Built-in Appliance Storage

Setting a microwave into white cabinetry frees the counter and makes the appliance look like it belongs to the room’s design.
Measure both the unit and the opening first, since a built-in needs a cabinet cut to fit. I would plan this during a cabinet project, not as a quick weekend fix.
19. Hanging Pot and Pan Rack

A brass rail holds copper pots and pans in plain view, so the cookware you reach for most stays right above the stove and out of the cabinets.
Copper against a marble wall makes the cookware read as a deliberate piece of the kitchen’s design.
I would hang only what you cook with weekly, since a crowded rail looks messy and every pan you take down swings the rest. Keep the heaviest pot at one end where the rail is best supported.
20. Over-sink Colander Bin

Two metal mesh bins sit right in the sink basin, and that setup handles the whole routine: rinse the produce, let it drain, and carry it to the fridge.
Nothing drips across the counter, and the water runs straight down the drain.
Mesh lets water leave fast, so berries and greens don’t sit wet.
I like a pair, one for fruit and one for vegetables, so you can wash both without mixing them. Wipe the bins dry before they go back under the counter.
21. Three-tier Cabinet Rack

Under a sink there is a lot of height and very little floor, and a three-tier black metal rack turns that one tall gap into three separate levels.
Potatoes and onions can ride on one tier while cleaning supplies take another, so nothing gets stacked on top of anything else.
I would keep food and cleaners on separate tiers, with the cleaners lowest. Measure around the pipes before buying, because plumbing decides how much of the cabinet you can actually use.
22. Utensil Crock on the Counter

Wooden spoons standing in a white ceramic crock are the quickest utensil storage there is: pull one out mid-stir and drop it back in. A drawer can’t beat that for speed.
Set the crock on a tray and spills or drips stay contained.
I would choose a heavy ceramic one, since a light crock tips when you tug a spatula free. Keep it to the tools you grab daily, and the rest can stay in a drawer.
23. Wall-mounted Gadget Holders

White wall-mounted holders above the stovetop put cooking tools at arm’s length, with one holder for each type of gadget.
You reach up, grab the tool and return it to the same slot, so the drawers below can hold other things.
Mount them at a height you reach without stretching, and group tools by use: stirring in one, flipping in another.
I would keep the row short. 4 holders is plenty before the wall starts to look busy.
24. Countertop Utensil Holder
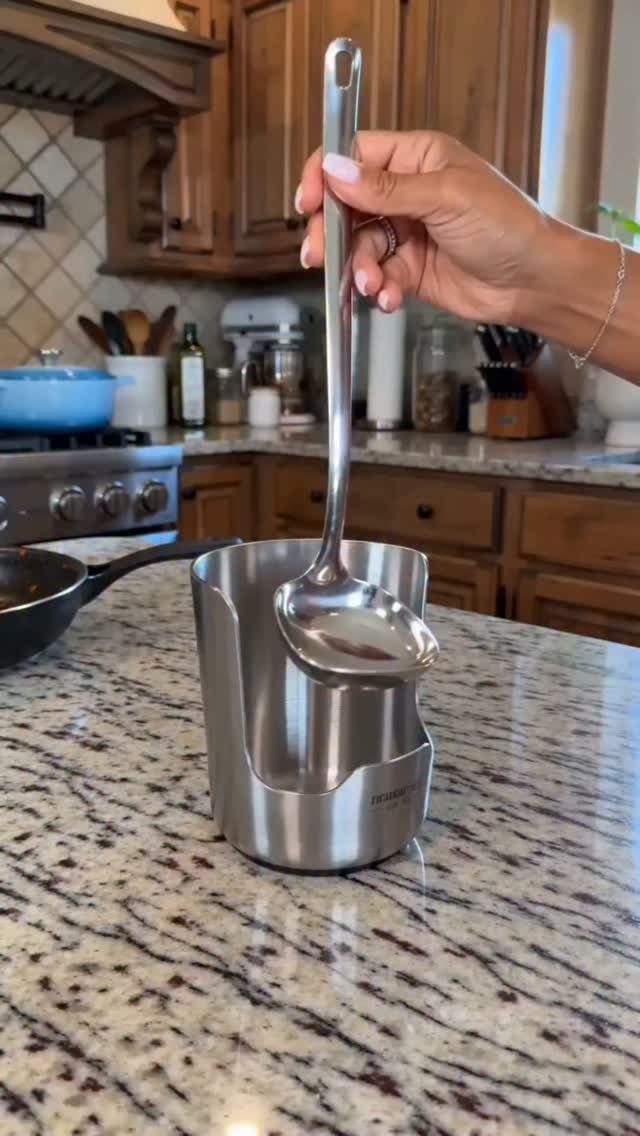
A cylindrical stainless steel holder beside the stove gathers ladles and other long utensils in one spot, so you can reach them without leaving the burner. Steel wipes clean with a damp cloth, which helps next to a cooking area.
Choose a holder wide enough that ladles stand without leaning, and heavy enough that it doesn’t tip when one slides out. Put the tools you grab most in front, and you won’t have to dig.
25. Appliance Pull-out Shelf

A stand mixer weighs enough that lifting it out of a cabinet is a chore, so most end up living on the counter.
Here a lift mechanism raises the mixer on a wooden shelf, so it stays tucked inside the navy cabinet and comes up to work height when you need it.
I would pick this for the one appliance you use often but hate looking at. Check the cabinet’s inside height first, since the mixer has to clear the top when it rises.
26. Tiered Countertop Organizer

Condiment bottles, jars and a few tools can share one black plastic stand, and the tiers stack them upward instead of spreading them across the counter.
Bottles go on the lower levels, where they’re easy to grab, and the top holds whatever you reach for most.
Keep the stand next to the cutting board and prep stays within arm’s reach.
I would stick to what you use every day, since a crowded tier hides the labels you’re trying to read. Because spills and grease splatter wipe right off a plastic finish, it holds up well beside the stove.
Declutter and Group Items
Empty one drawer or cabinet onto the counter first, since buying bins for a pile you haven’t sorted usually means buying the wrong sizes.
A 5-minute pass is enough to pull out duplicates, broken tools and anything expired or never used.
Group what’s left by job, not by size. Give baking its own station with the measuring cups, bowls and spoons, and put the appliances together in one cabinet so a recipe never sends you searching across the kitchen.
Daily-use tools go back in front. Anything you reach for a few times a year belongs in a bin or on an upper shelf.
I’d start with the drawer you open most and finish it before moving on. A half-sorted kitchen is harder to cook in than one you haven’t touched.
Frequently Asked Questions
What is the best way to organize kitchen gadgets?
Pull everything out of one drawer or cabinet, stack it on the counter, and toss the duplicates, the broken tools and anything that hasn’t been touched in a year.
Then group what’s left by job, with baking supplies in one spot and appliances together in one cabinet.
Daily tools go in front, and the ones you need a few times a year go in a bin or on an upper shelf.
Sort first and pick containers second, since bins bought in advance tend to be the wrong sizes.
What are some good storage gadgets for my kitchen?
Drawer organizers, lazy Susans and pull-out shelves solve the most common problems.
A slotted tray gives each utensil its own lane, a rotating shelf brings the back of a corner cabinet to you, and sliding shelves let you see pots and lids from above.
Holders on the inside of a cabinet door add storage in space that otherwise goes unused.
Why do kitchen gadget storage solutions make cooking easier?
When each tool lives in one assigned spot, your hand goes straight to the whisk instead of sifting through a jumble.
Storage that keeps tools separated also protects them from scratches, tangled cords and wear, so they last longer. Open counters also make cooking less stressful, with more space to work and less clutter to look at.
How do I store appliances I don’t use daily?
Keep them in cabinets or on lower shelves, with the heaviest ones lowest. A sliding tray, a lift shelf or an appliance garage saves you from hauling them out, and labeled bins keep attachments together.
A lift shelf brings a heavy stand mixer up to counter height, but measure the cabinet’s interior height so the mixer clears the shelf above it.
What are appliance garage pros and cons?
An appliance garage clears the counter, keeps appliances within reach and gives the kitchen a clean, streamlined look.
The downsides are that it may need custom cabinetry, it can take away usable cabinet space, and it costs more than simple organizers.
Measure both the appliance and the opening before you commit, and plan it as part of a cabinet project, not a quick weekend fix.
Do organizers help maximize kitchen space?
Yes, because they use height and keep tools separated. Stackable shelves turn one tall, empty cabinet into two usable levels, and dividers keep small items visible.
Measure the drawer or cabinet width, depth and height first, along with shelf clearance, since a unit that’s even slightly too big won’t fit.
How do I organize small kitchen gadgets?
Use adjustable dividers or bins to give each type of tool its own compartment, such as measuring tools in one and peelers in another. Choose a tray that fills the drawer from edge to edge so it can’t slide around.