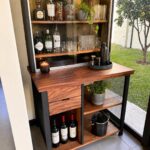
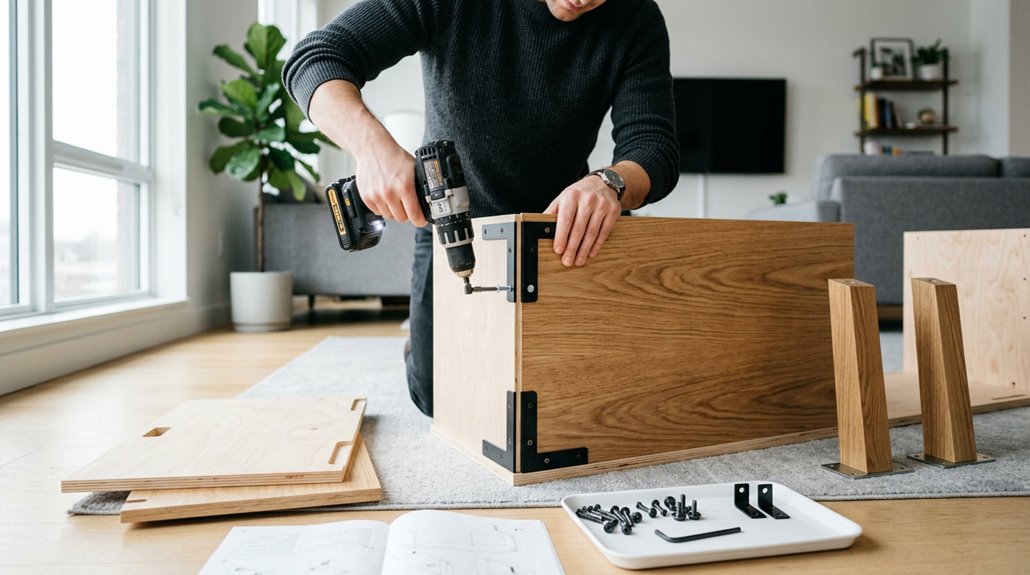
I’m gonna walk you through building a solid TV stand from scratch, one that’ll actually hold your gear without wobbling or looking like something from a dorm room.
First, measure your space and pick your materials. Solid wood is durable, but plywood works fine on a budget.
Then cut your pieces, assemble the frame using pocket holes for hidden screws, install shelves, attach doors, and finish with sanding and stain.
Route your cables neatly, and you’ll have a professional-looking stand. The specifics that follow will ensure durability and quality construction.
Step 1: Measure Your Space and Choose Materials
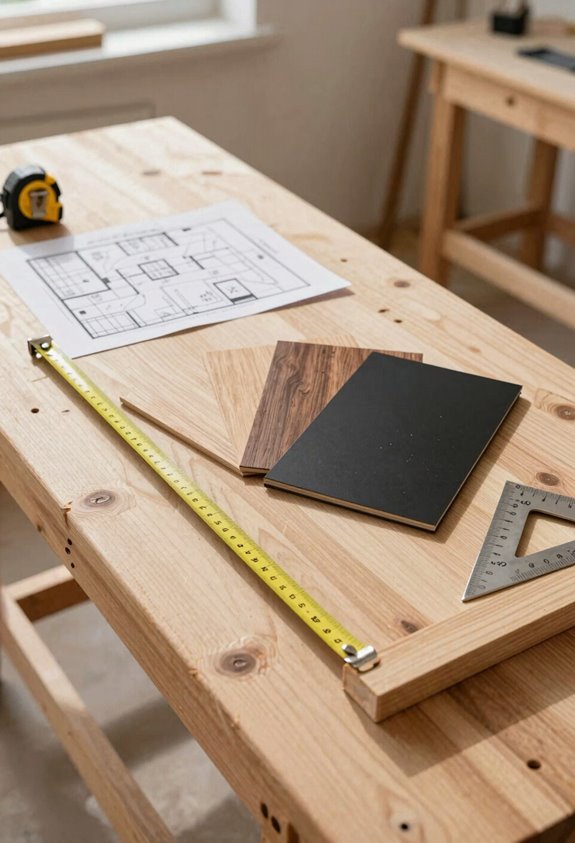
How will you know if your TV stand will actually fit in that corner without measuring first? I learned this the hard way. Before you even think about materials, grab a tape measure and check your available space: width, height, and depth. This is the foundation of everything.
Next comes picking materials. You must choose between solid wood (oak, walnut) for durability and longevity, or budget-friendly plywood and MDF that still perform well. Think about what you’re storing too. Shelves and storage compartments need materials that can handle the weight without sagging or cracking.
Your measurements determine everything: the base size, how sturdy it needs to be, and what internal features you can actually fit. This is the most important step. Get this right, and the rest of the project will proceed smoothly.

Easel Design: Putorsen easel minimalist TV stand has a sophisticated and imaginative design that transforms flat screens into easels; Creating a comfortable viewing environment fitting for studio, bachelor apartments, living rooms, bedrooms, corner places, offices, etc
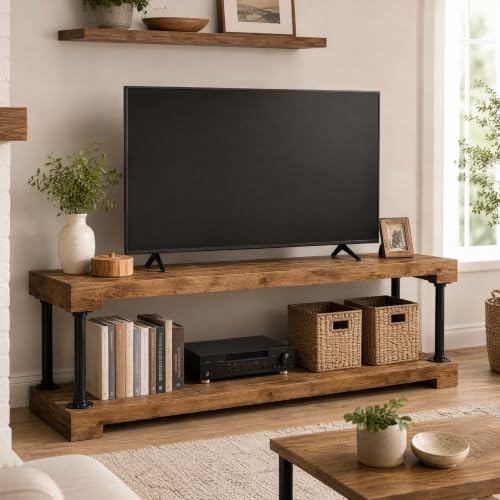
100% Solid Wood: Crafted from natural solid wood, this tv stand features a 1.97-inch thick irregular tabletop with a warm, premium texture. It is paired with thickened metal legs that blend industrial durability with natural charm
Step 2: Cut Your Wood Pieces to Size
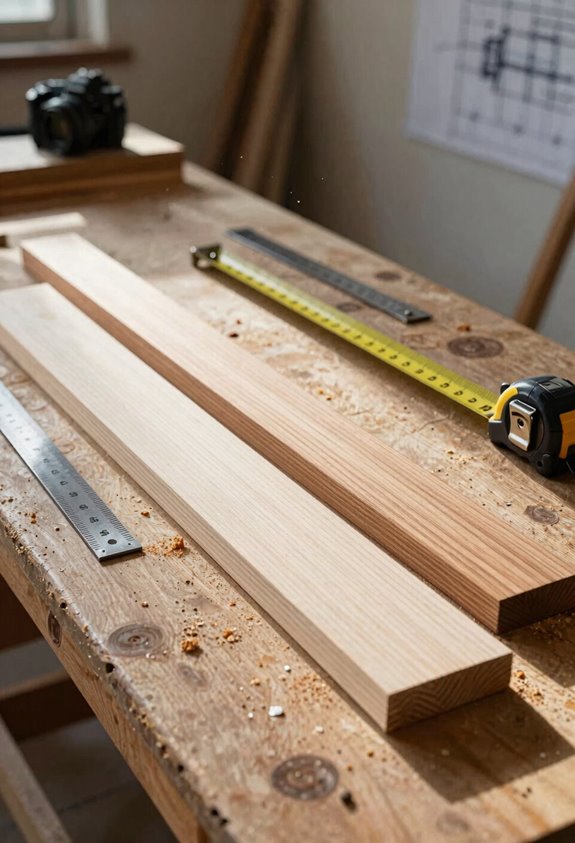
Now that you’ve got your measurements locked down and materials picked out, it’s time to actually start cutting. Grab your plywood from the hardware store, as it forms the foundation of this project. First, rough-cut everything slightly oversized, then trim each piece to final dimensions. This two-step approach reduces errors.
Labeling becomes essential after milling each piece. Mark them clearly: rails, stiles, shelves, face frame parts. Mixing these up mid-assembly creates significant rework. Use your circular saw to mark cut lines carefully, ensuring all ends are square. Cutting two identical parts from the same blank produces consistent symmetry. This methodical approach keeps everything organized and ready for assembly.

Premium Home Improvement: This pocket-hole jig is a portable carpentry tool that makes strong joints

Easy Woodworking Tools: Kreg pocket-hole joinery is the fast, strong, easy way to join wood-drill, drive, and done

Premium Mini Pocket-Hole Jig: Creates precise pocket holes with steel-enforced drill guide holes
Step 3: Assemble the Frame With Pocket Holes
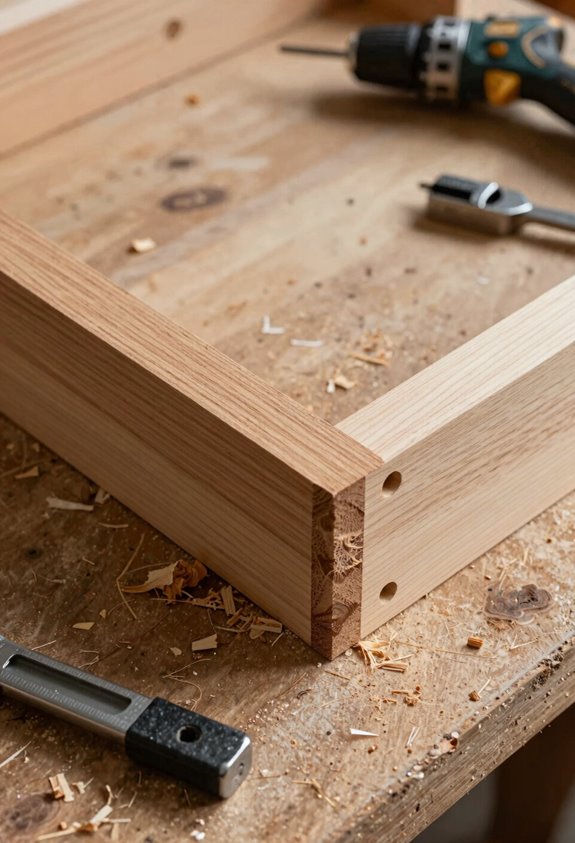
With your wood pieces all labeled and ready to go, it’s time to grab your Kreg Jig and start joining everything together. Pocket holes are a reliable method for frame assembly, as they eliminate guesswork and drilling. You’re drilling hidden screws that hold everything securely while keeping fasteners completely invisible. Start by building those two upside-down U-shaped side frames, then connect them with your 2×2 top support pieces. Make sure everything’s square by checking multiple times, then install that center divider for extra rigidity. This assembly method creates a frame that is genuinely sturdy.

【Sturdy & Durable Construction】This 50 inch tall TV stand is made of durable metal and MDF board, offering strong load-bearing capacity to ensure your entertainment center remains stable and reliable for years to come. Adjustable legs allow the TV stand cabinet to remain stable even on uneven surfaces.

COMPACT MEDIA STORAGE: Organize entertainment essentials with this modern tv stand, featuring space for a TV up to 45 inches, two open shelf tiers, two door cabinets, and a low rectangular profile that combines visible and concealed storage in the living room or bedroom

Where Form Meets Function: The KEAN Collection features crisp geometric forms, clean planes, and architectural proportions that create a calm, refined aesthetic for contemporary spaces, instantly elevating your home decor
Step 4: Install Shelves and Attach Cabinet Doors
Once your frame is square and solid, you’re ready to install the shelves. This is where your TV stand transitions from a wooden skeleton to finished furniture. Position two 2×8 boards side by side for the bottom shelf, roughly one foot up from the base using shelf supports.
Here’s the installation breakdown:
| Step | Tool | Action |
|---|---|---|
| Prepare | Countersink drill bit | Drill pilot holes to hide screws |
| Secure | Screws (3+ each side) | Fasten from front and back |
| Attach | Hinges (mortised) | Mount cabinet doors flush |
Next, glue the cabinet doors using tongues and grooves for alignment. Verify even gaps around all components and recheck door clearance to ensure smooth operation. The doors will swing smoothly when properly installed.

[3 Tools in 1 – More Than Just Stair Gauges] Designed for 3 essential shop tasks: (1) Circular saw rip guide – clamps onto flat-base saws, including flat-base skill saws (base ≤0.473''), for straight, parallel cuts; (2) Framing square stair/rafter layout – attaches to standard framing squares, marks repetitive angles quickly; (3) Universal angle stop – clamps onto straight edges, saw guides, drill guides, or any jig with a flat edge to set custom angles off-square. One tool for measuring, layout, and positioning – endless shop applications

Premium Home Improvement Tools: Universal compatibility fits most circular saws in the market with blades up to 7-1/4”

381091-00 Trim Saw Fence, designed for use with the DW936 and DW936K models of cordless circular saws
Step 5: Sand, Stain Your Stand, and Route Cables
Your TV stand’s looking pretty good at this point, but sanding and finishing will transform those raw boards into something worth displaying.
Start by sanding everything from 80 to 150 grit, working through progressively finer grits and paying special attention to edges and corners. For the top assembly, keep your glue-line alignment tight so nothing looks wonky. Then apply stain in thin coats. Special Walnut gives that rich warmth. Let each coat dry completely before applying the next.
Finally, route the cables through channels or hidden paths so your setup stays clean and clutter-free. Before you fit the stand into place, double-check that routing one more time. This finished product is worth the effort.

Support up to 65 Inches TV: Stylish and sturdy, offering a sleek and modern look to your living room.Not just a TV cabinet with storage space, but also a wonderful storage cabinet in your living room or bedroom.

Quantity & Accessories: Each hinge comes with four 15.5mm mounting screws. For easy installation, a installation instructions specifically designed for these cabinet door hinges is also included
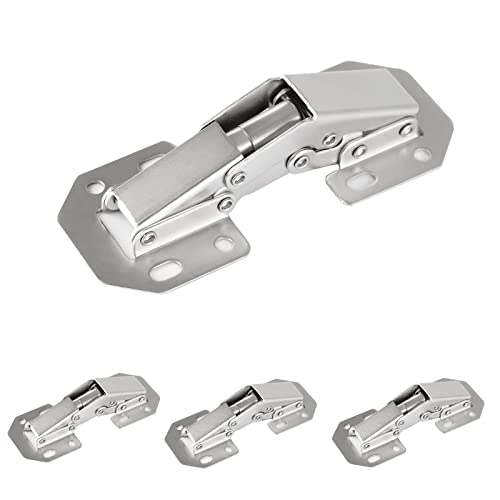
Perfect Fit: Suitable for frameless cabinets but not frame cabinets. Suitable for three installation methods: full Overlay, half Overlay, and Inset.