
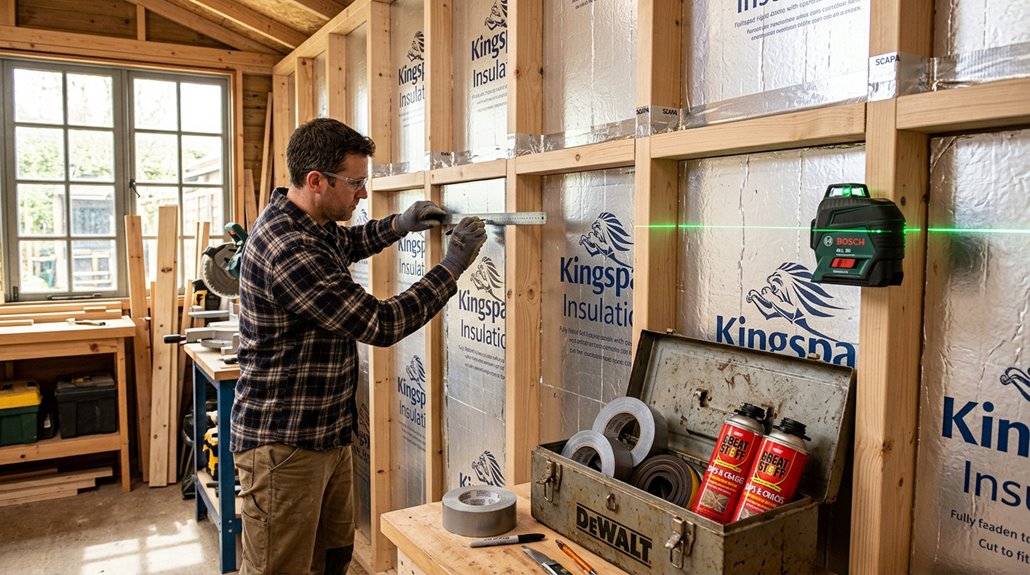
Proper shed insulation prevents mold and moisture damage. First, clear out all clutter and identify problem areas like holes and cracks, then choose between fiberglass (affordable) or rockwool (superior moisture protection).
Next, install batts snugly between studs and layer a vapor barrier with sealed seams to block moisture. Don’t skip the soffit-to-ridge vents for airflow.
Test everything with a blower door before drywall to catch leaks that would otherwise go undetected. These details ensure your shed maintains structural integrity and proper temperature regulation.
Start Here: Clear Your Shed and Spot Problem Areas
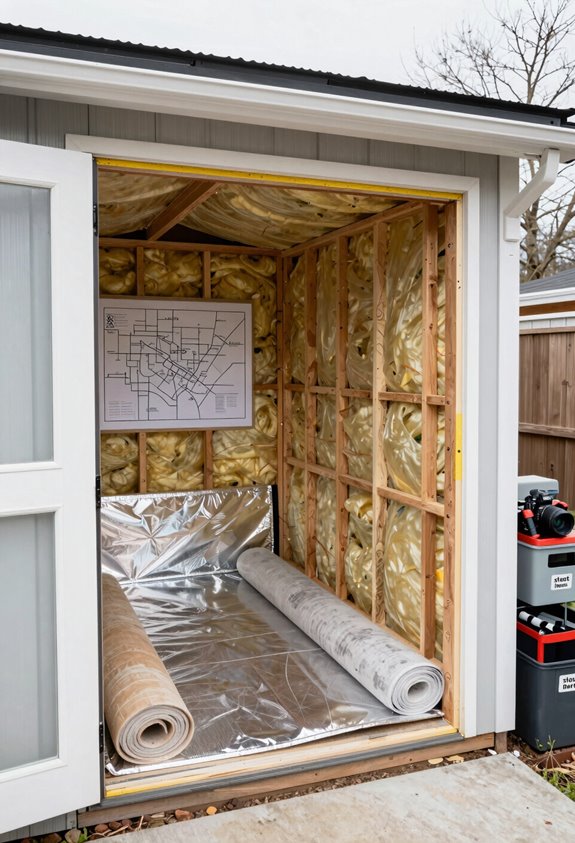
Before you begin laying down insulation, clear out all accumulated clutter, cobwebs, and debris from your shed. Next, identify problem areas like holes, cracks, and gaps in your walls, ceiling, and floor. These air leaks will reduce your insulation’s effectiveness if left unpatched.
Ensure everything is clean and dry. Check for any moisture or dampness, as damp surfaces compromise insulation performance. Finally, clear pathways throughout the space so you can move tools and materials without obstruction. This preparation work prevents complications during installation.

Cut to size fiberglass
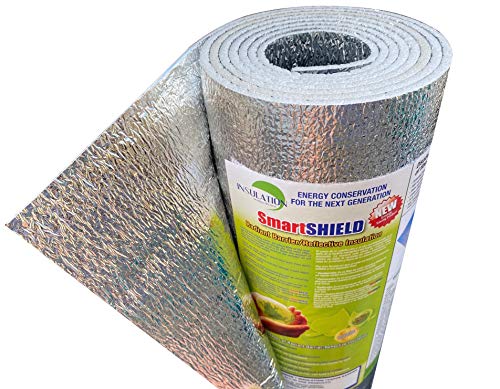
EXTREMELY EFFECTIVE - Reflect 95% of radiant energy, perfect RADIANT BARRIER!

Pick Your Insulation: Rockwool vs. Fiberglass by Climate and Budget
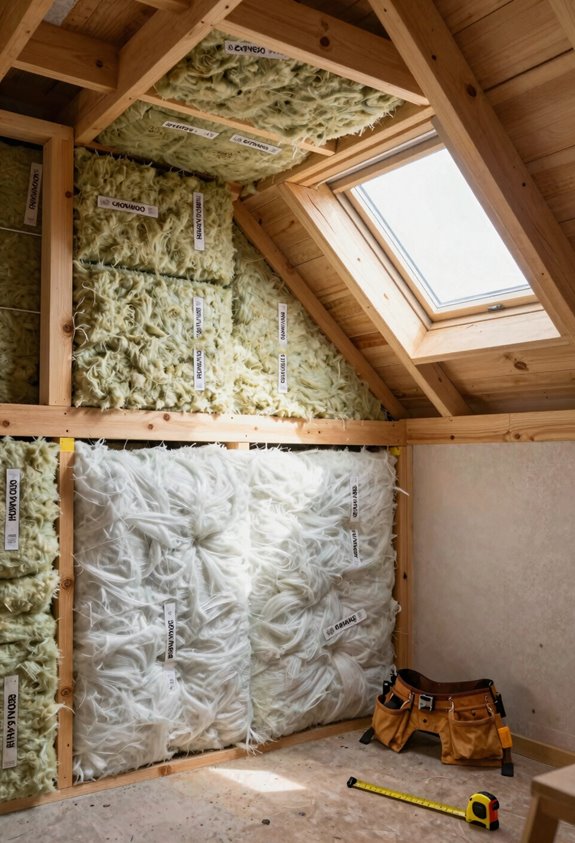
What’s the difference between rockwool and fiberglass, and does it actually matter for your shed? Yes, it does. Fiberglass is cheaper, which matters when you’re watching your budget, but rockwool’s moisture resistance and itch-free handling make it worth considering, especially in humid climates. Both fit standard insulation thickness for wall and ceiling insulation, hitting that sweet R-value range you need. Fiberglass comes with paper backing that acts as a vapor barrier, keeping things simpler. Rockwool requires you to add a separate vapor barrier; this is an extra step, but it provides better protection long-term. Your climate matters here. Damp conditions call for rockwool. A tight budget makes fiberglass the practical choice. Either way, you’re getting solid performance without breaking the bank.

6lb/ft^3 Rockwool ProRox SL960 Mineral Wool - 3 sheets of strong, rigid stone wool insulation

6lb/ft^3 Rockwool ProRox SL960 Mineral Wool - 10 sheets of strong, rigid stone wool insulation

6lb/ft^3 Rockwool ProRox SL960 Mineral Wool - 10 sheets of strong, rigid stone wool insulation
Install Batts and Create Airflow With Soffit-To-Ridge Vents
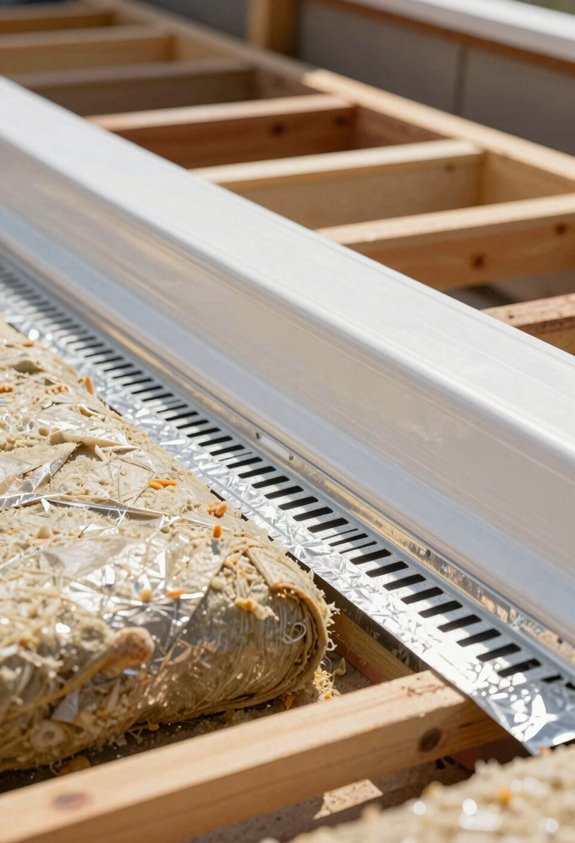
Now that you’ve picked your insulation, it’s time to actually get it in there. You’re literally building the thermal envelope, which is the protective layer that keeps your shed comfortable. Install batts of fiberglass or mineral wool between studs, pressing them snug with zero gaps. Next comes the vapor barrier. Staple 6-mil plastic over everything, overlapping seams generously to manage moisture. Creating airflow is the next critical step. Place soffit vents around the perimeter, install baffles to guide air upward, and connect everything to a ridge vent. Finally, seal every gap around windows, doors, and electrical boxes with caulk or tape. This airflow path functions as your shed’s ventilation system, continuously removing moisture and regulating temperature.
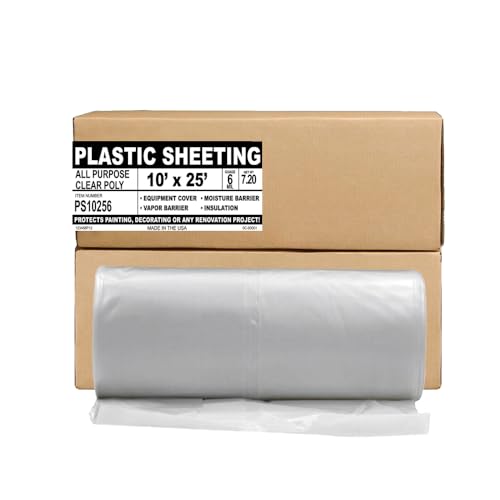
Heavy Duty - 6 MIL gauge is extremely tear, puncture, and leak resistant. No job is too tough for our poly rolls
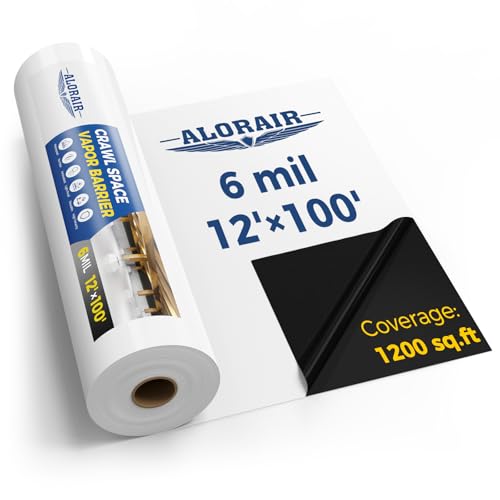
HEAVY-DUTY VAPOR BARRIER – Designed for crawl space encapsulation, moisture control, and weatherproofing applications, this durable polyethylene sheeting helps reduce soil moisture vapor migration and protect foundations, insulation, and structural components from moisture-related damage. Available in multiple thicknesses and sizes to meet different project needs

【Heavy-Duty 6 Mil Black Plastic Sheeting – Covers 1000 SQ.FT】This 6 mil black plastic sheeting comes in one convenient 10' x 100' roll, covering up to 1000 square feet. Made from tear-resistant polyethylene (PE), it provides a durable vapor barrier for indoor and outdoor applications.
Seal Your Insulation: Layer Vapor Barrier and Tape Every Seam
You’ve got batts stuffed between your studs and a vapor barrier stapled up. Without proper sealing, moisture will accumulate inside your walls.
I learned this through experience. That plastic sheeting is your primary tool for moisture control, but only if you seal every single seam. Here’s what I do:
- Overlap seams by several inches and staple them down tight
- Cut plastic around windows and electrical boxes, then seal gaps with blue tuck tape, which outperforms duct tape
- Cover all staples and openings with tape to create that airtight layer
This gap sealing step works directly with your ventilation system. You’re protecting your batt insulation investment and preventing condensation from causing damage.


Verify It Works: Test Airtightness Before Drywall
Can you actually feel air moving through your sealed vapor barrier, or are you just hoping it’s airtight? You’ve worked hard sealing everything up, so now let’s verify it actually works before drywall goes up.
I run a blower door test, which is basically a fan that pressurizes your shed, to catch any sneaky air leakage through spray foam, taped seams, or around electrical boxes. Alternatively, I use a smoke pencil to watch for air movement. This method provides clear visual feedback.
I check everything carefully: window joints, soffit and ridge vent penetrations, insulation joints. A little gasket caulk fixes problem spots fast. Once I confirm my vapor barrier is solid and vents flow freely, I re-test. Only then am I confident hanging drywall.

WINDOW AND AIR CONDITIONER SEALING TAPE: Stop drafts and energy loss instantly with a tape designed to seal gaps around windows, doors, and AC units. Whether you are filling spaces around a window air conditioner or sealing a drafty frame, this tape keeps your home comfortable in every season.

STRONG BUT SURFACE-SAFE ADHESIVE. Transparent weather sealing tape is made of high-quality, weather-resistant materials that can withstand extreme temperatures, moisture, and UV exposure.

Strong Adhesive but surface safe adesive: Transparent window tape is made of high-quality, weather-resistant materials that can withstand extreme temperatures, moisture, and DIY repair to sealing on windows,doors. Sticks strongly while being residue-free, removable and surface-safe