Where your free space sits decides which of these ideas is yours: a clear counter fits a rotating dispenser, a dispenser station or a single grab-and-go jar, while a crowded one sends the snacks to bins, baskets and the pantry.
The range runs from a woven basket you can set on a shelf in a minute to a pull-out pantry that takes real installation effort. If kids do the grabbing, stackable plastic containers beat glass jars.
1. Stackable Snack Bins
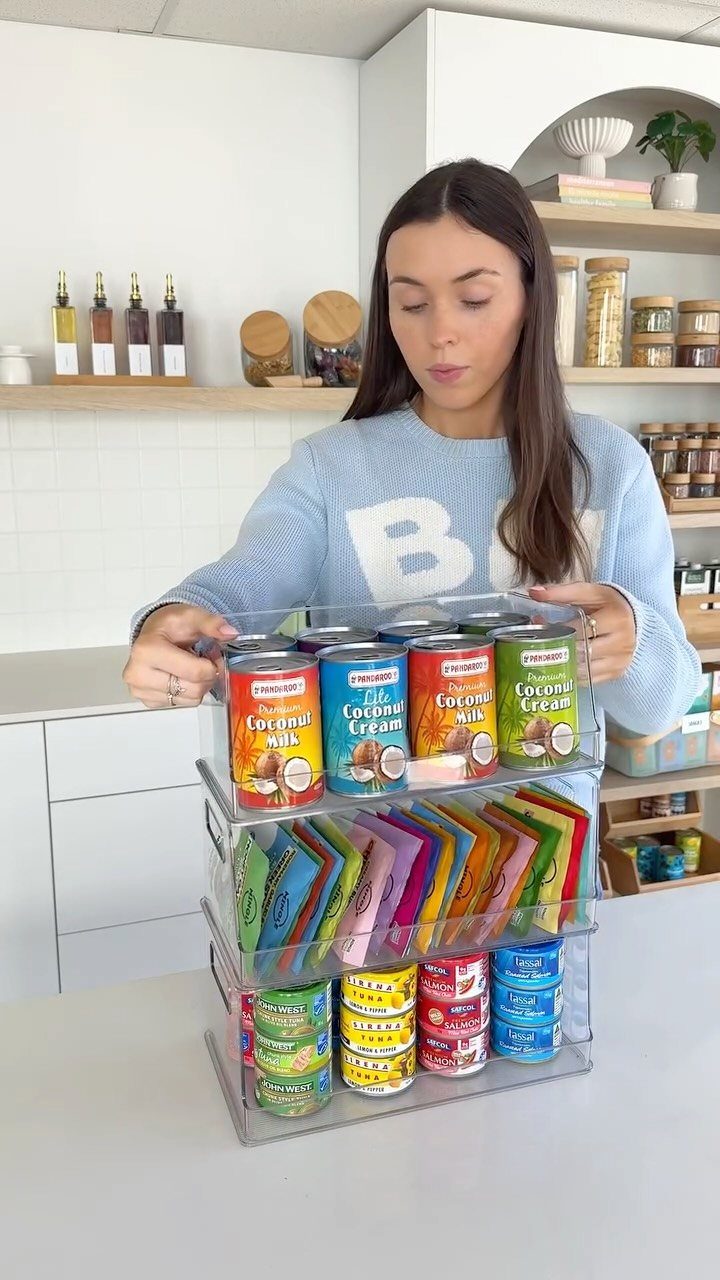
Clear bins with flat tops turn a shelf into a column instead of a pile. Stacking two or three high frees up the floor space that a crowded kitchen rarely has to spare.
I’d pick bins you can see through, so you spot what’s running low without lifting a lid.
Group by type, with cans in one bin and packets in another, and put a label on the front edge where it stays readable once the stack goes up.
2. Vertical Rotating Snack Dispenser

A tall rotating dispenser takes up one small patch of counter and gives you several compartments to fill. Spin it, and everything comes around to you.
Leave empty space on every side of the spot you pick, since a dispenser that can’t turn freely is just a tall box.
A cabinet door, a wall cabinet above or a neighboring appliance can stop the spin, and then the dispenser stops doing its job. I’d keep it where nothing crowds it.
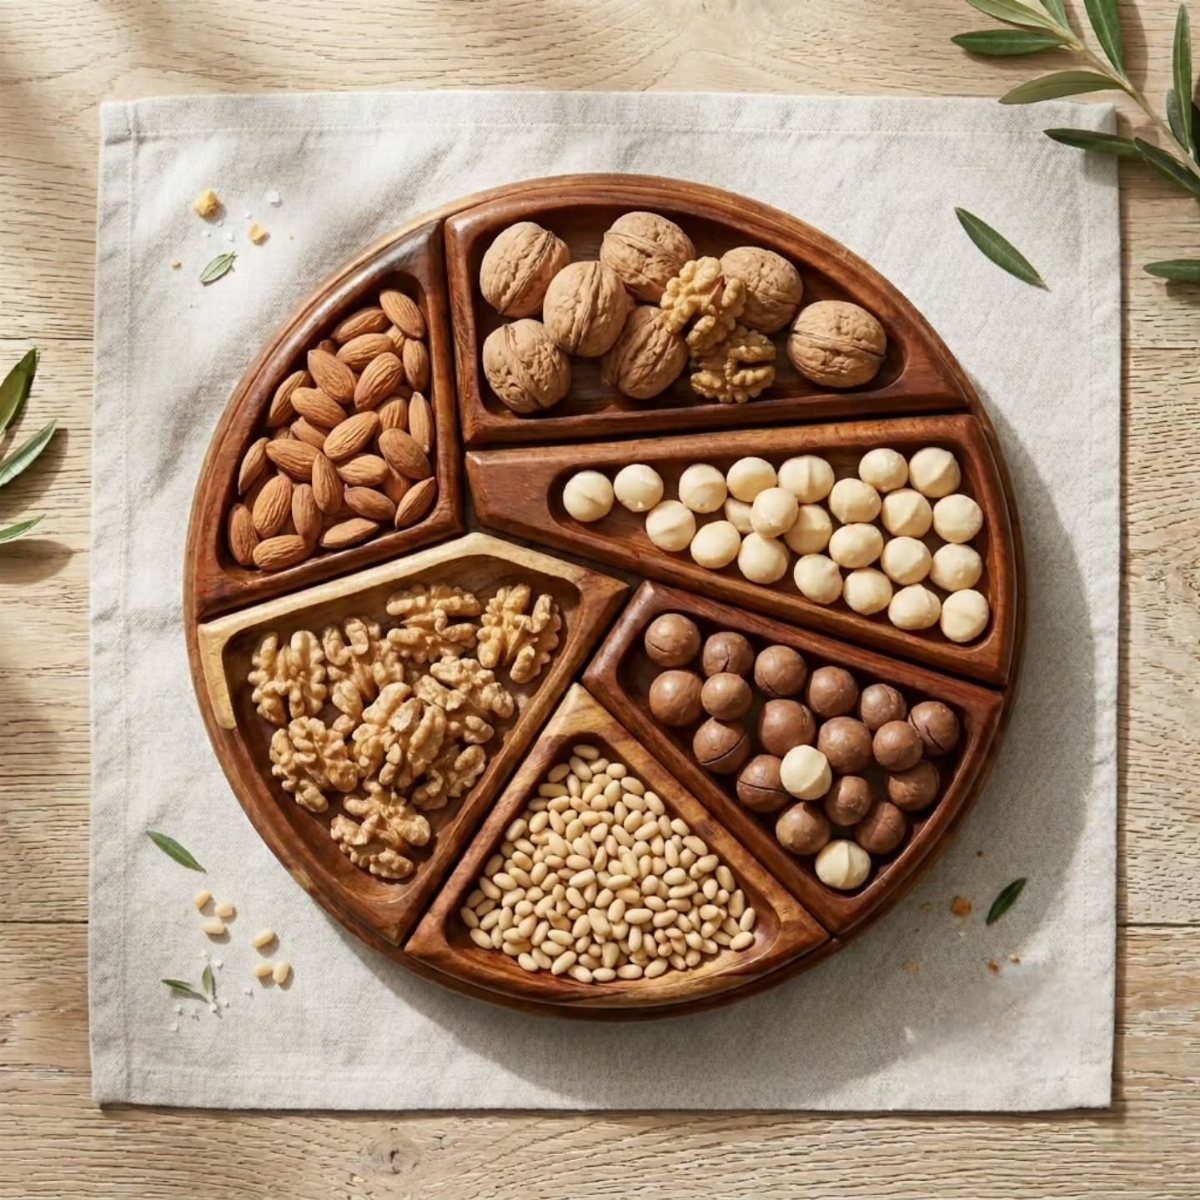
3. Divided Snack Tray

One tray, snacks sorted by type, no hunting through separate bags. A divided wooden tray works well for nuts and other small dry items, since each section keeps its own kind apart.
It does spread outward, so it needs a stretch of counter or table rather than a shelf corner. I like it best as the thing you set out for the afternoon and put away at night.
4. Matching Glass Snack Canisters
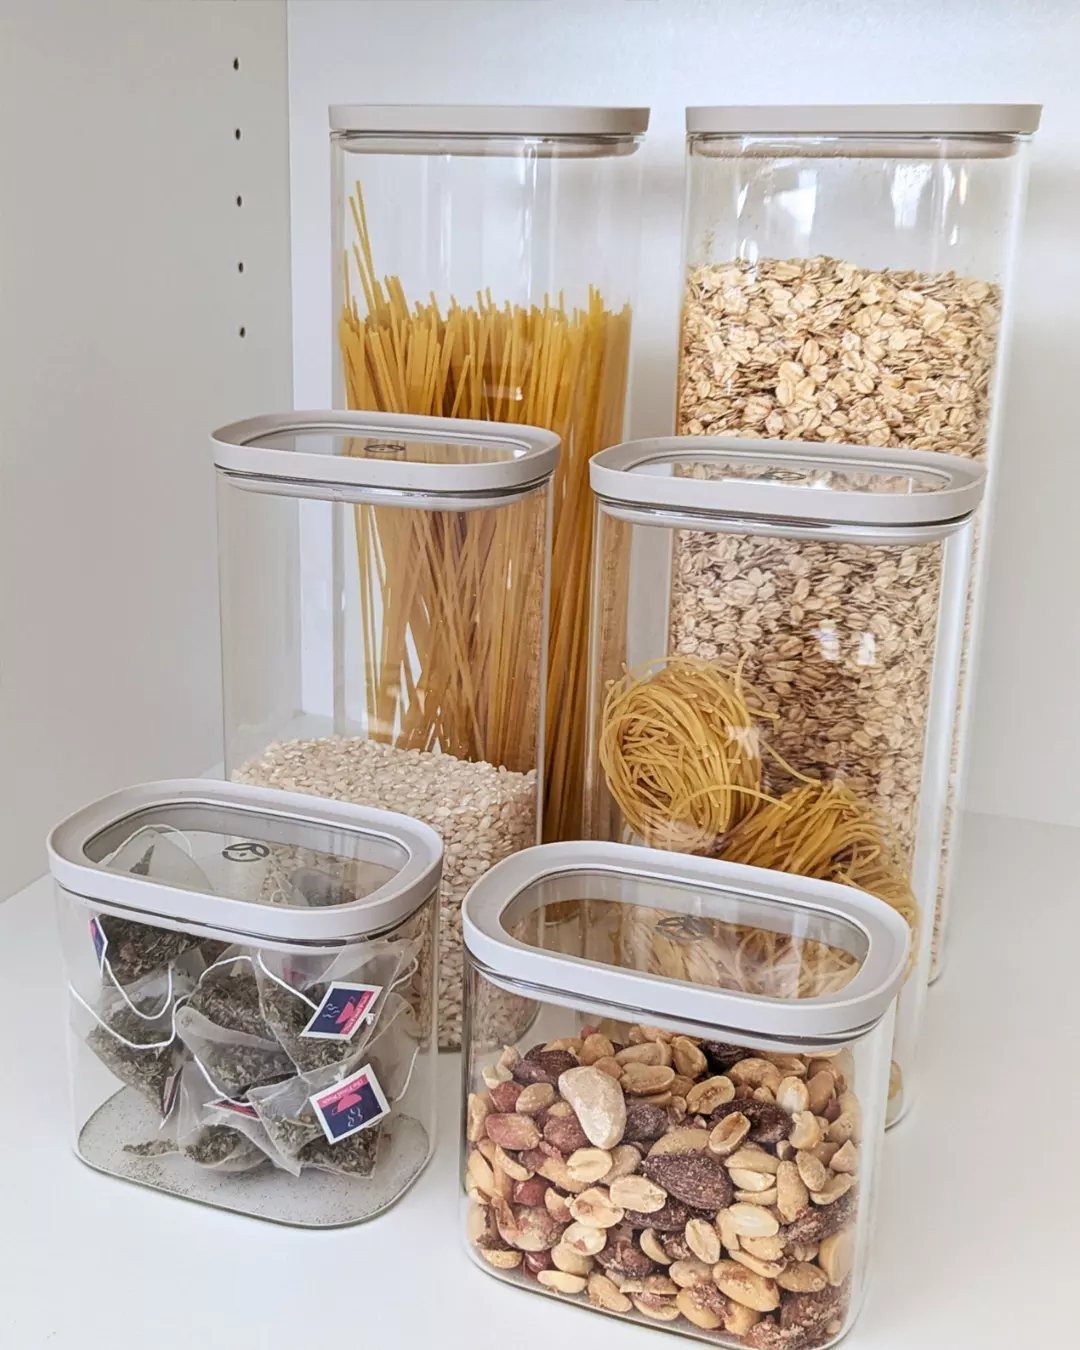
Pasta, oats, nuts and tea bags all look tidier once they leave their bags and go into canisters of one shape. Matching sizes line up on a shelf with no wasted gaps between them.
Pick canisters with lids that seal and are wide enough for a scoop or a hand. Decanting also cuts the bulk of the original packaging, which is where the shelf space actually comes back.
5. Woven Storage Basket

Open-top baskets suit the odd, shapeless items that never fit a neat container: loose packets, spare plates, utensils. Toss them in, slide the basket onto the shelf, and the shelf looks calm.
Give each basket one job and tag it with a label, because baskets with no label turn into junk bins fast. I’d mix woven ones with plain white bins, so the shelf has some warmth without everything looking the same.
6. Grab-and-go Snack Jar

One big jar of cookies on the counter does more for snack habits than a whole organized cabinet. It’s right there, it’s easy to reach, and anyone in the house can help themselves in one motion.
Choose a jar with a wide mouth so a hand fits comfortably. The counter space it claims is real, so I’d give it a spot you pass often and keep only one out.
7. Individually Portioned Snack Packs

Portion fruit, cheese, crackers and cut vegetables into small clear containers on prep day, and a basket or bin on the shelf is stocked in minutes. Anyone in the house can grab one and go, with no scooping or measuring.
Portion everything in one sitting and fill the containers in a row.
Clear lids let you see what’s inside, and mixing one fruit, one crunchy item and one dip makes the container look as good as it eats. I’d keep the dip containers upright so they don’t tip.
8. Trail Mix Jar

A big glass jar of trail mix works as both storage and decoration on a wooden counter. Nuts, dried fruit and candy pieces like M&M’s all share one container, and the colors show through the glass.
Mix a batch at home so you control the ratio, or pour in a ready-made blend and add a handful of candy on top.
A wide opening lets a scoop or a hand reach the bottom, and a lid that seals tight keeps the nuts and dried fruit from going stale. I’d set a scoop beside it so nobody reaches in with a hand.
9. Small Snack Bowls
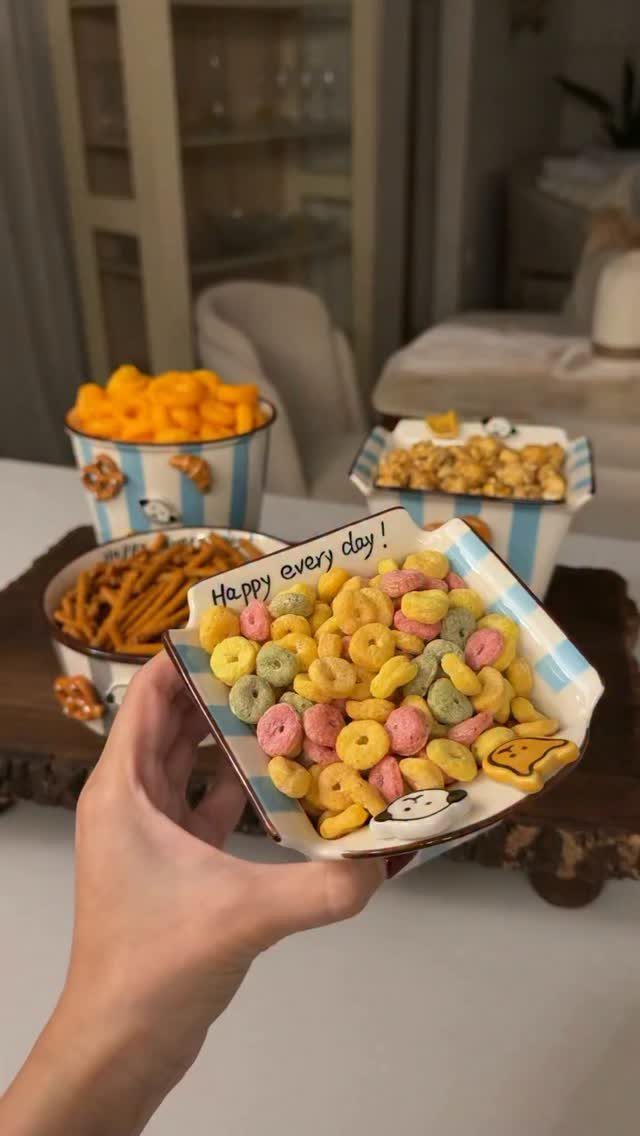
Small bowls make a portion visible at a glance: a handful of cereal, a few crackers or some cut fruit.
Striped or colorful ones also look cheerful on a tray, which helps when you want kids or guests to pick the fruit.
Fill several bowls at once and carry them on a wooden tray to the table or counter.
Wash-up is the cost, since every bowl is another dish. I’d choose a set that stacks so the cabinet doesn’t fill up.
10. Airtight Glass Jars

Glass jars with bamboo lids pull loose snacks, grains and spices into one matching set. On white shelves, the jars read as a single clean block, and the contents become the color in the room.
Label each lid or jar front with a word you can read from across the kitchen, such as "Snacks" or "Goji Berries."
I’d pick one jar size for the shelf and use it throughout, since mixed sizes leave gaps. Wide mouths make refilling and scooping easier.
11. Organized Snack Pantry

A pantry cabinet turns snacks into a stocked shelf you can read in a glance. Boxes of crackers and cereal sit upright and face front, so the whole selection is visible when the door opens.
Put the snacks people reach for most at eye level, and group by type so a box has a home.
Keep the facing consistent, labels forward, and the cabinet stays tidy without much effort. I’d leave a little room on each shelf so restocking doesn’t mean rearranging.
12. Pull-Out Snack Pantry

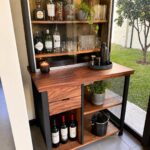
A narrow pull-out pantry slides a whole column of tiered shelves into view, so packaged snacks, jars and drinks sit within reach instead of vanishing at the back of a cabinet.
It suits a slim gap between other cabinets that wouldn’t hold a regular shelf.
Sort by height, with taller bottles on the lower tiers and small packages higher up. Installation takes more effort than adding a bin, so I’d pick this for a spot you’ll use daily.
13. Stackable Plastic Snack Containers
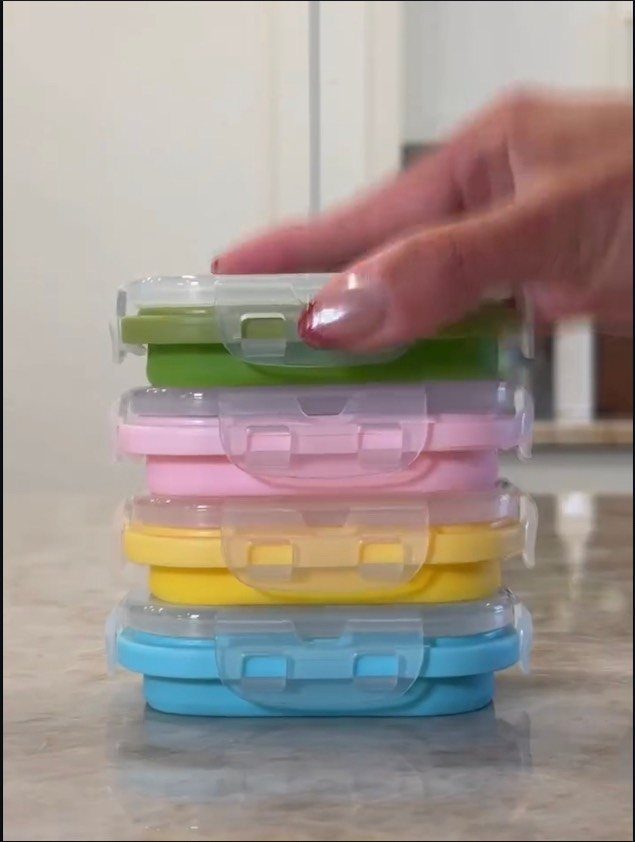
Bright containers with clear lids nest into one tidy block, and that block takes up far less counter than the same snacks in loose bags.
Color helps too: assign one shade to each kind of snack, and anyone can find the right one without opening a single lid.
Pick containers that are all the same rectangle so the stack stays level. I’d keep it to four high, since a taller tower gets awkward when you pull from the bottom.
14. Snack Dispenser Station

Cereal dispensers turn dry snacks into a self-serve setup: tip the lever, and a portion lands in a cup. Setting them beside a stack of paper cups means nobody needs a bowl, a scoop or a spoon.
Fill them with small, dry snacks that pour easily, like cereal, since chunky pieces can jam the opening.
Paper cups cut down on dishes, but you’ll be restocking them, so I’d buy a pack at a time. This suits a counter with room to spare.
15. Lidded Snack Container
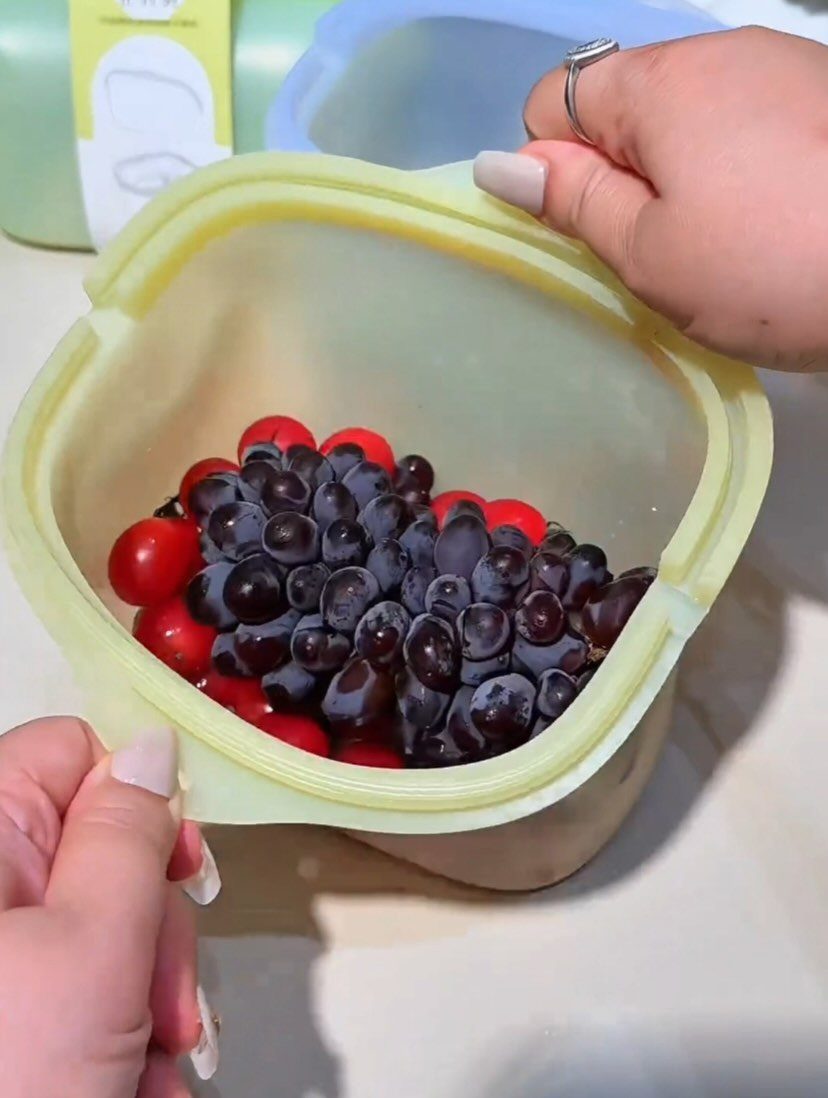
A silicone container with a lid holds cut fruit like grapes without the weight of glass. Because it’s translucent, you see how much is left, and a color you like makes it fine to leave on the counter.
Wash and dry the grapes before they go in, since trapped water shortens their life.
I’d choose one with a wide opening so you can grab a handful, and pick a size that fits your fridge shelf as well as the counter.
16. Labeled Snack Jars

Cookies keep better and look better in clear jars than in the torn-open bag. Print or write a label for each jar, and the contents are obvious before anyone lifts a lid.
Plastic is a smart choice if kids reach for the jars, because nothing shatters when one slips.
Keep labels on the front where they face out, and use one label style across the set. I’d line the jars up in a row on the counter so the whole selection reads at once.
17. Glass Snack Jars
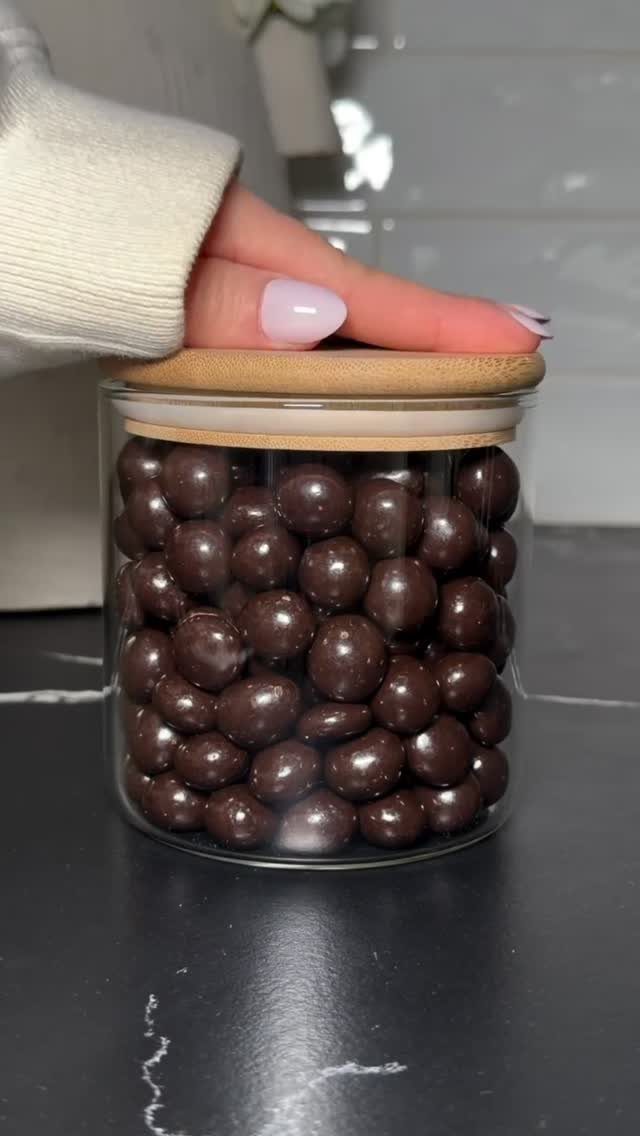
A glass jar with a wooden lid makes a bowl of chocolate look like part of the kitchen. Wood against a dark counter and white tile adds warmth, and the candy shows through the sides.
Choose a jar with an opening wide enough for a full hand, and fill it close to the top so it looks stocked rather than half empty.
Glass is heavier and breakable, so I’d set it toward the back of the counter, away from the edge.