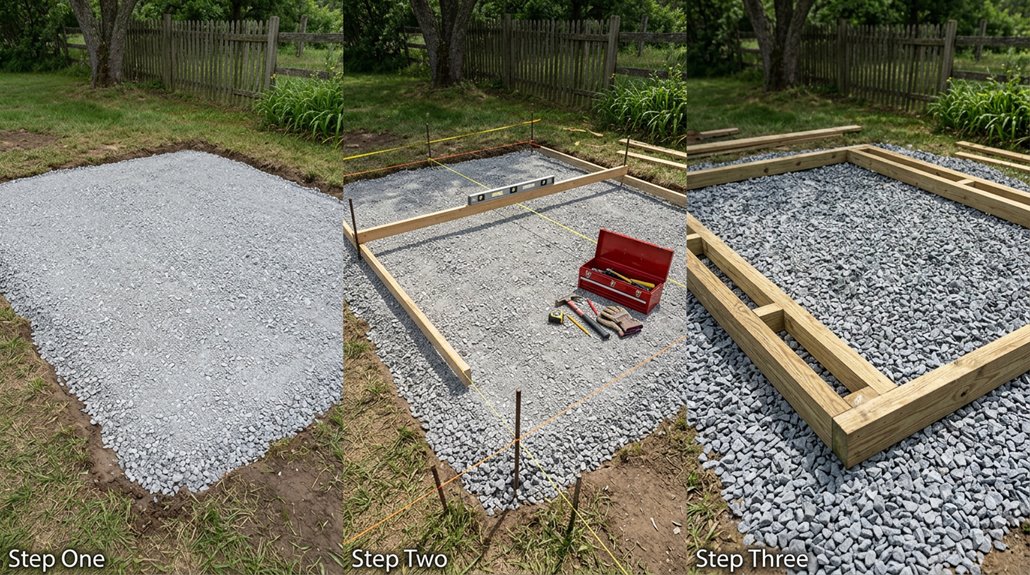
First, pick a level spot with good drainage. Call 811 before digging because underground utilities pose serious safety risks. Gather your tools (level, shovel, compactor) and clear away roots and debris, then lay down weed barrier to prevent weeds from taking root later. Finally, dump crushed stone and compact each layer systematically. Keep checking your level throughout the process until everything is solid and flat. The following sections detail each phase.
Step 1: Select Your Site and Assess Drainage
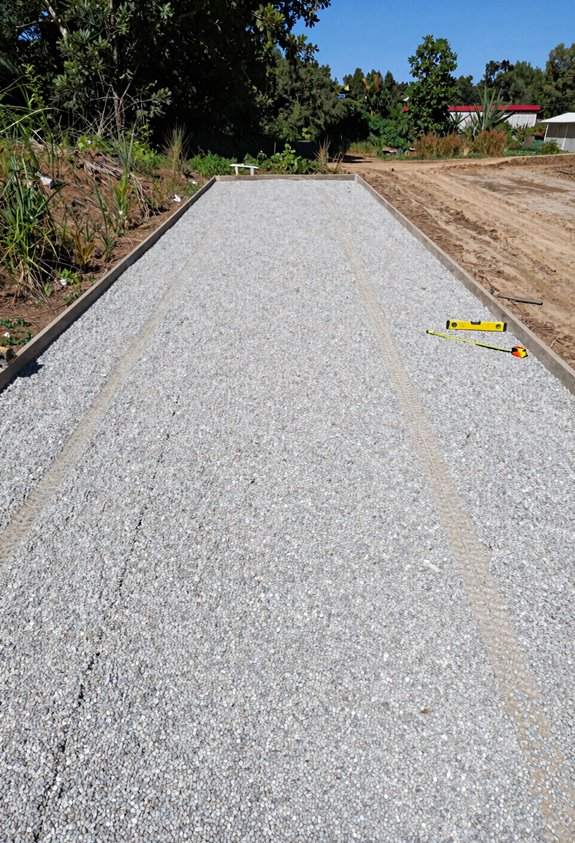
Where should you put this structure? Start by finding a level site that matches your shed’s footprint. This selection significantly impacts the foundation’s performance. Check the drainage assessment first; water pooling around your gravel shed base will compromise the base over time. Call utilities at 811 before touching the ground, as underground cables present serious hazards.
Next comes site preparation. Mark those foundation corners one foot beyond your shed dimensions for extra crushed stone space. Use a laser level or straightedge to evaluate slope and determine if adjustments are needed. Even slight slope corrections improve drainage and foundation stability. Clear away any ground obstructions: roots, debris, and disturbed soil. You need solid earth underneath, not soft material that will shift over time. Install a weed barrier underneath your gravel layer to prevent weed growth and maintain proper drainage.

【Professional Grade Weed Barrier】 The weed barrier is crafted from high-quality and durable material. Made of woven polypropylene material, it's a strong and reliable barrier that's resistant to UV rays, water, and other outdoor elements. This means that you can trust it to provide long-lasting protection against weeds in your garden.
【Professional Grade Weed Barrier】 The weed barrier is crafted from high-quality and durable material. Made of woven polypropylene material, it's a strong and reliable barrier that's resistant to UV rays, water, and other outdoor elements. This means that you can trust it to provide long-lasting protection against weeds in your garden.

【Professional Grade Weed Barrier】 The weed barrier is crafted from high-quality and durable material. Made of woven polypropylene material, it's a strong and reliable barrier that's resistant to UV rays, water, and other outdoor elements. This means that you can trust it to provide long-lasting protection against weeds in your garden.
Step 2: Gather Materials and Prepare the Ground
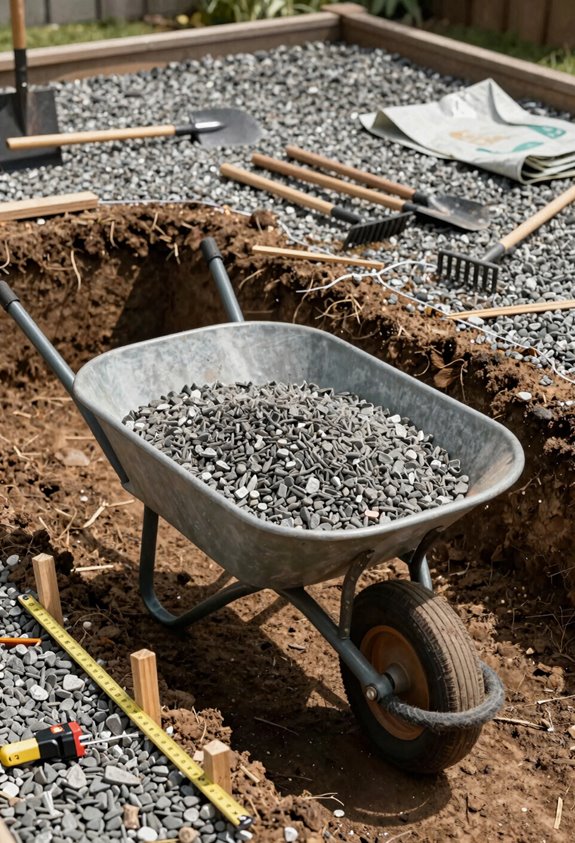
Before you break ground, gather all your materials and tools. Running short on supplies mid-project creates unnecessary delays. Collect your level, shovel, rake, and a compactor (the tamping machine that packs everything down), plus rebar, screws, and lumber for framing. Include safety gear to protect your eyes and hands. You’ll need a laser level to create a perfectly flat perimeter, a weed barrier to prevent weed growth, and crushed stone for your gravel pad’s base preparation. Mark your corners at least a foot beyond your shed’s dimensions. This spacing ensures proper drainage around the perimeter. Lay the weed barrier down before adding gravel to maximize its effectiveness.

Safe For Everyday - Perfect for everyday cleaning

Size of stone: approx 0.1"-0.5"(3-15mm),Quantity:1Pack(1lbs);Weight(Approx):1 Pound(460Grams),Package comes wirth a drawstring burlap pouch as gift.

Feature: Purple crystal stone is 3-5mm (0.12"-0.2"), 0.88 Lb/Box. Made of high-quality natural crystals, carefully processed into irregular shapes to create a unique and eye-catching look. (Please clean crystals before use to bring out the dazzling color of the stone)
Step 3: Build, Compact, and Verify Your Gravel Pad
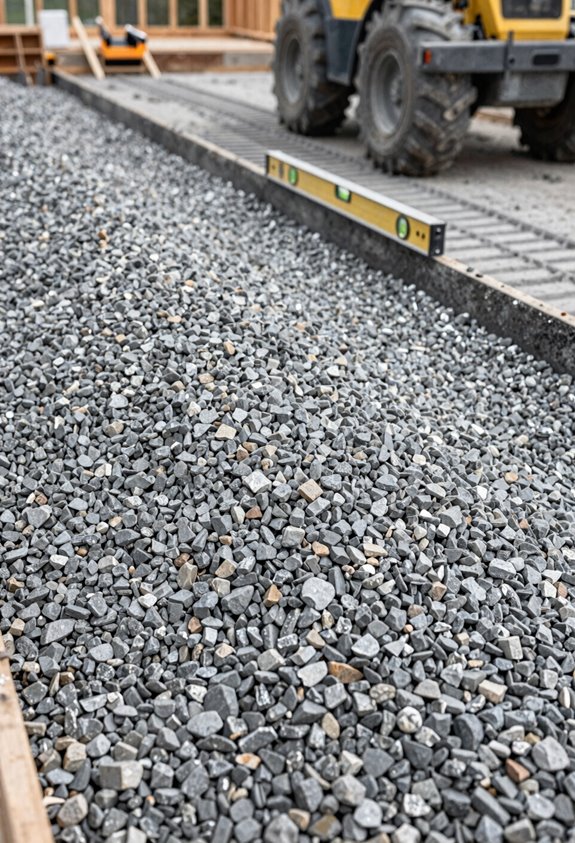
Ready to build your gravel pad. Lay down perimeter framing with pressure-treated lumber, then fill it with ¾” clean gravel in layers.
- Dump crushed stone and compact each layer before adding more
- Use ¾” clean gravel for optimal drainage, avoiding river rocks that won’t pack down
- Check your level surface constantly for even compaction
- Ensure your finished depth hits around five inches after compaction for durability
- Recheck everything with your level, especially where the shed door will sit
Space your perimeter framing at least one foot beyond your shed dimensions. This contains the gravel and keeps everything stable. The compacted layers should feel solid beneath your feet, indicating a properly built foundation. Your gravel pad will be ready for the next phase once all layers are compacted and leveled.

Reinforced Material: plate compactor pad is constructed from a high density reinforced rubber composite; This material delivers consistent performance under repeated compression from heavy machinery; It maintains structural integrity during extended apply on job sites with abrasive surfaces; The composition provides resistance to tearing and wear over time; The product includes 1 rubber sheet, 2 galvanized plate clamps, and several screws

Precision Compatibility & Adaptability:Designed specifically for Construction Zone 56035 plate compactors. Dimensions: 27.5" x 17.5". Can be easily modified (e.g. hole adjustment) to fit other paver models, ensuring broad applicability across various equipment.

Premium Quality: This pavers plate tamper pad is crafted from high-quality materials that offer exceptional strength and wear resistance, ensuring that your pavers are more efficient, stable, quiet, and durable during the tamping process