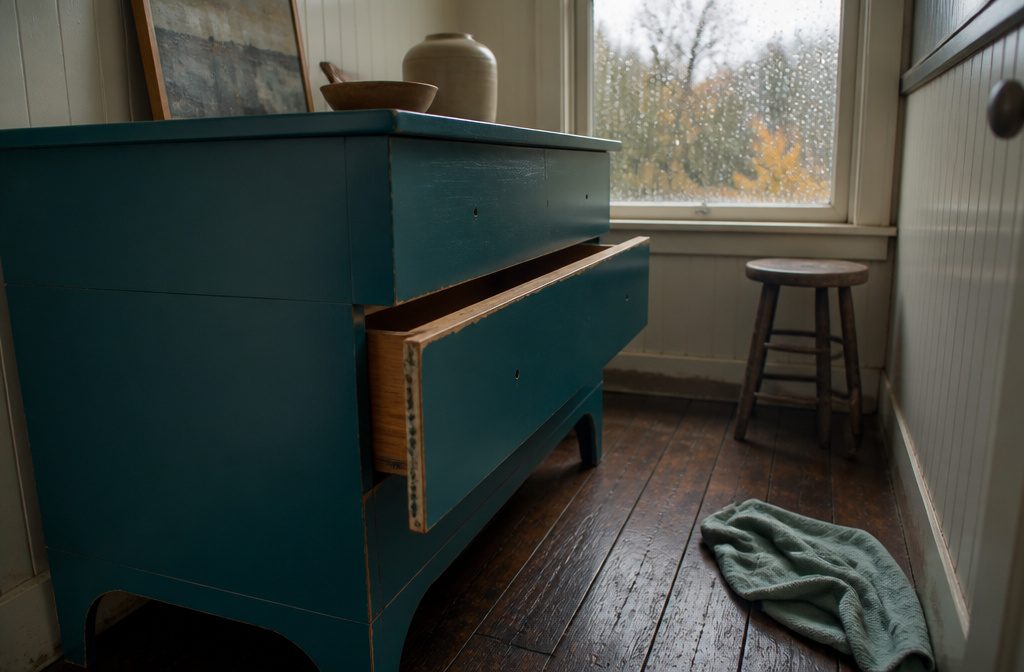
A painted dresser that survives daily use takes primer, two thin coats, and a sealer, plus 24 hours of waiting before you handle it.
Most people rush the surface check. Veneer, a thin hardwood layer over MDF or particle board, scratches easily and needs extra prep, so look at an exposed edge before buying paint.
1. Check the Surface Material
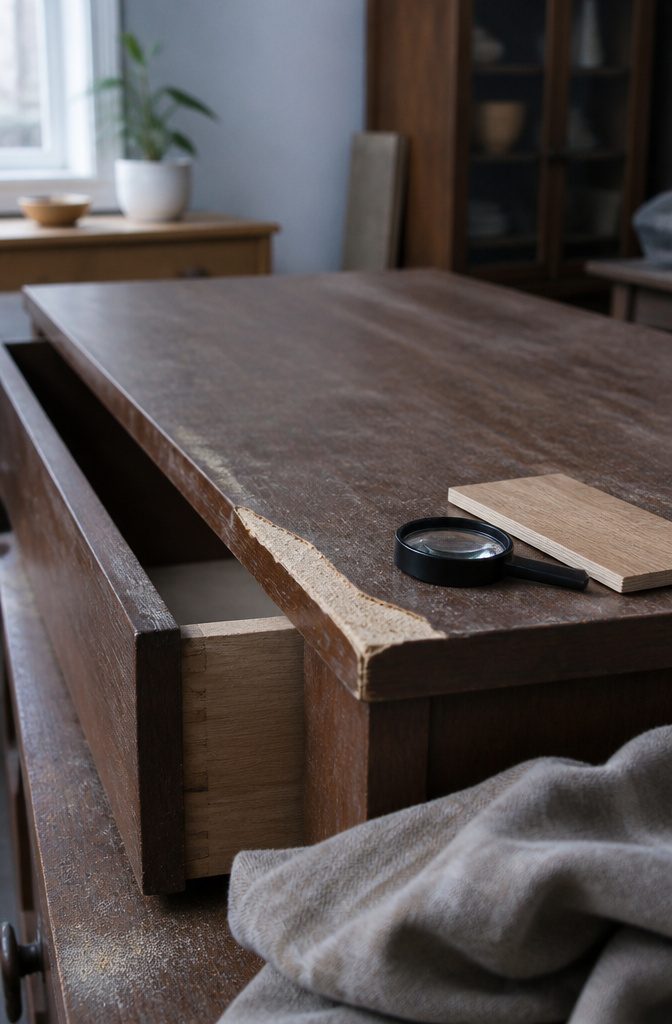
Veneer is a thin layer of real hardwood glued over MDF or pressed particle board, and it scratches very easily.
That means more prep and a well-sealed finish, or the first bump leaves a mark. Laminate sits a step below veneer, and advice written for real wood doesn’t carry over to it.
Look at an exposed edge or the underside of a drawer, where the core shows, before you buy any paint or primer. A pale, pressed core under a paper-thin top layer is veneer or particle board, not solid wood.
Skip-the-sanding methods only suit furniture that’s already in good condition. If the finish is chipped, peeling, or gouged, identify the material first and plan on real prep.
2. Set Up the Workspace
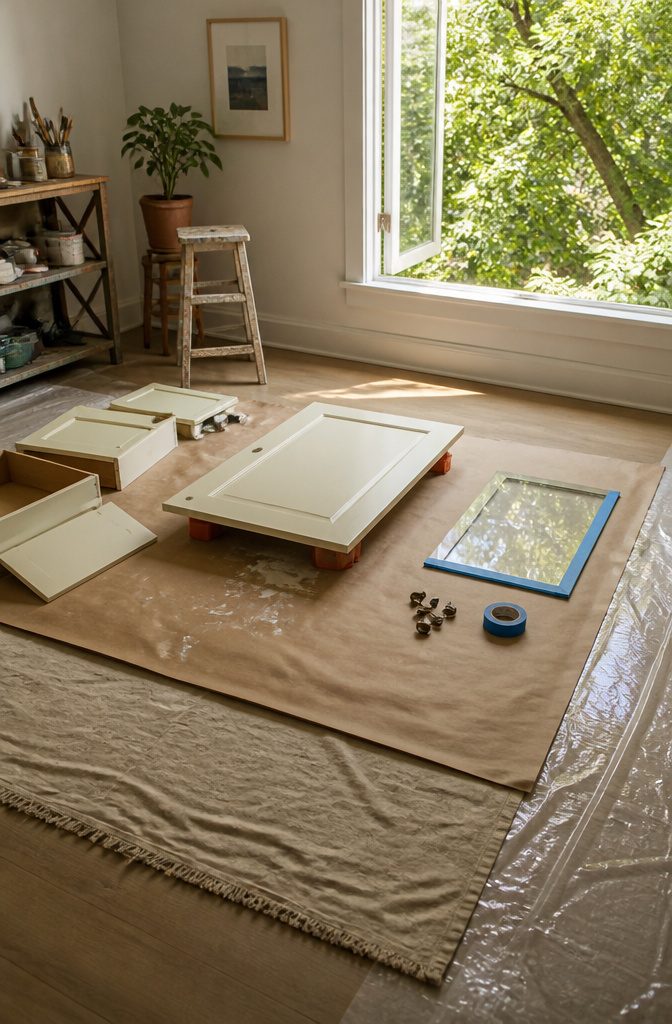
Pick a well-ventilated spot and spread a drop cloth before you open any paint. Canvas folds and reuses well, but spills can seep through the weave.
Plastic is cheap and non-porous, but slippery and hard to fold. I prefer coated paper: the top soaks up spills and the coating blocks the floor.
Take out the drawers, remove every knob and pull, and unhinge the doors. Tape off any glass, metal, or mirrored areas that should stay unpainted.
Painter’s pyramids keep pieces up off the cloth. A set holds 10; a cabinet door takes 4, one per corner, and furniture needs one under each leg.
On a second side or coat, let the paint dry well before setting pyramids on it, or they stick and pull off chunks of finish.
3. Clean and Repair
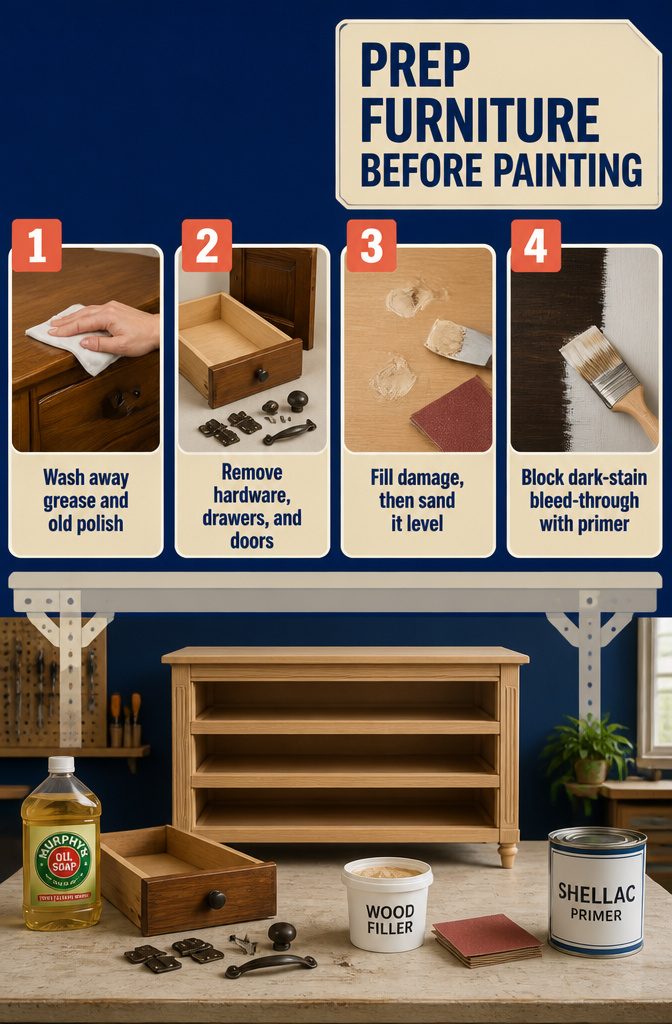
Clean and Repair
- Clean the piece with Murphy’s Oil Soap, Simple Green, sugar soap, or TSP to strip away grease, dirt, and old wax or polish residue. Any grime left behind will stop paint from sticking. If the furniture has been sitting in storage, give it a thorough wipe down before you do anything else. For stubborn sticker gunk, try #0000 steel wool with soap.
- Remove all hardware, drawers, and doors. Work on each part separately rather than painting around hinges and pulls.
- Fill holes, dents, scratches, and gaps with wood filler. If you’re switching to different-sized hardware, fill the old mounting holes now. Let the filler dry completely, then sand it smooth with medium-grit sandpaper until it sits level with the surrounding wood.
- If you’re painting over dark stained wood, spray shellac or brush on Fusion Concealer to prevent bleed-through. Dark stain will turn white paint pink if you skip this step.
4. Sand or Degloss
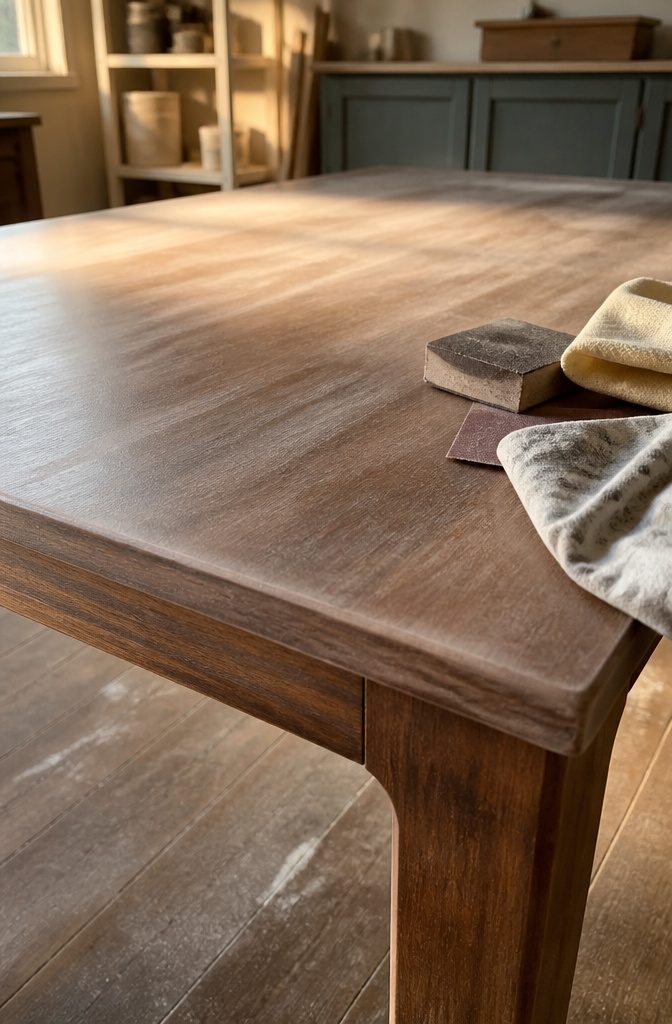
Sanding gives primer and paint thousands of tiny scratches to grip, and it levels the surface so the finish looks smooth.
If you’re painting rather than staining, you only need to dull the gloss, not strip to bare wood, and a medium grit does that job.
A surface that’s already dull can skip the step. Stripping old paint is a bigger job: work through 80, 120, then 220 grit.
I’d save 60 grit for a first pass on thick old paint, since it removes a lot of surface fast. For the smoothest result, finish the whole piece at 220 grit or finer.
Wipe off the bulk of the dust with a cloth, then go over everything with a tack cloth, unfolding it as you go, because a plain cloth leaves fine dust behind.
5. Prime Where Needed
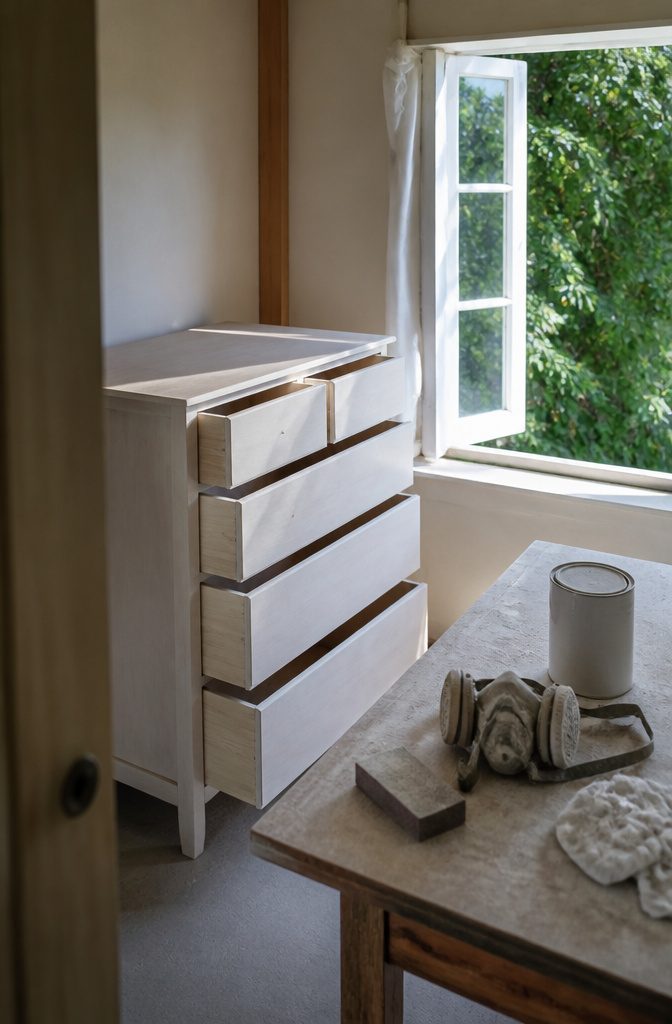
Raw wood soaks up whatever you put on it, so I never skip primer there.
A coat seals the grain, keeps the paint from going blotchy, uses less topcoat, and gives the paint something to grip. It also blocks stains and discoloration.
A piece in good shape with no odor only needs a water-based primer; KILZ is a solid pick. For a musty dresser, the better call is different:
If it has a funky odor, however, you might need something else. Zinsser B-I-N is a good option because the shellac formula creates a barrier over the wood, trapping any funky smells.
B-I-N is strong stuff, so ventilate the room and wear a respirator.
Once the primer dries per the can, sand lightly by hand with 240 grit, then wipe off the dust. That pass removes the small bumps and bubbles primer leaves behind.
6. Apply Thin, Even Coats
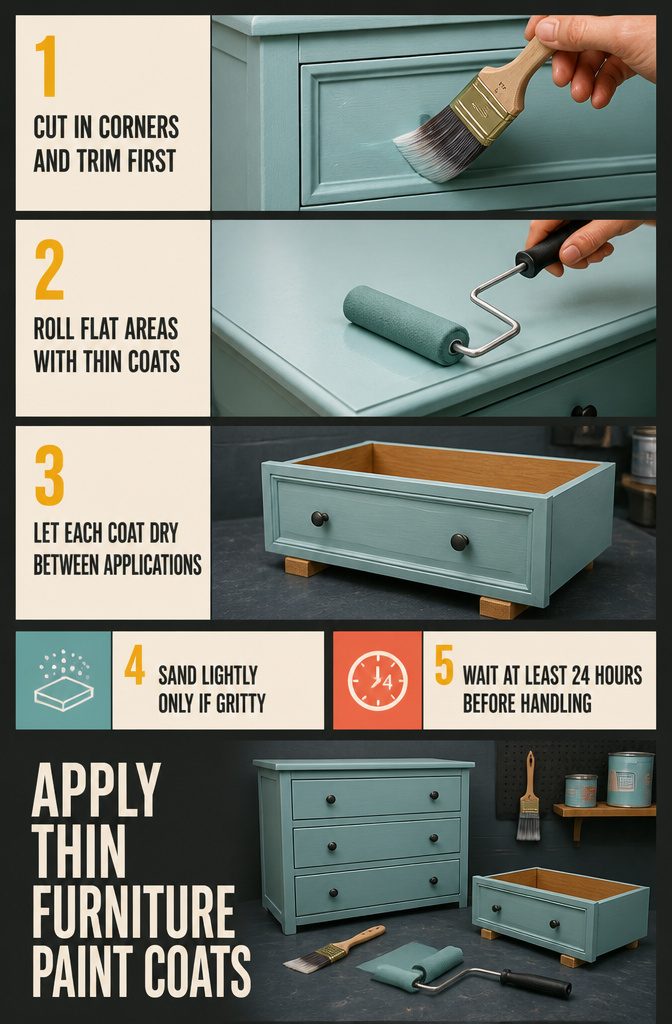
- Cut in the details first with a Wooster 2-inch angled brush: corners, edges, grooves and trim. Brush strokes in these spots are hard to see, and the angled tip gets into tight places.
- Roll the flat areas, like tabletops, drawer fronts and side panels, with a 4-inch foam roller or a 3/8-inch nap roller. Keep each coat thin, because thick paint sags and drips.
- Wait for each coat to dry. Plan on two coats; some pieces need three, and the slowest method dries overnight between them. Cold or humid air stretches every wait.
- Sanding between coats is optional. Some painters skip it. I’d only sand lightly if the dried coat feels gritty or shows dust.
- Leave the piece alone for at least 24 hours before handling, even if it feels dry sooner.
7. Seal the Finish
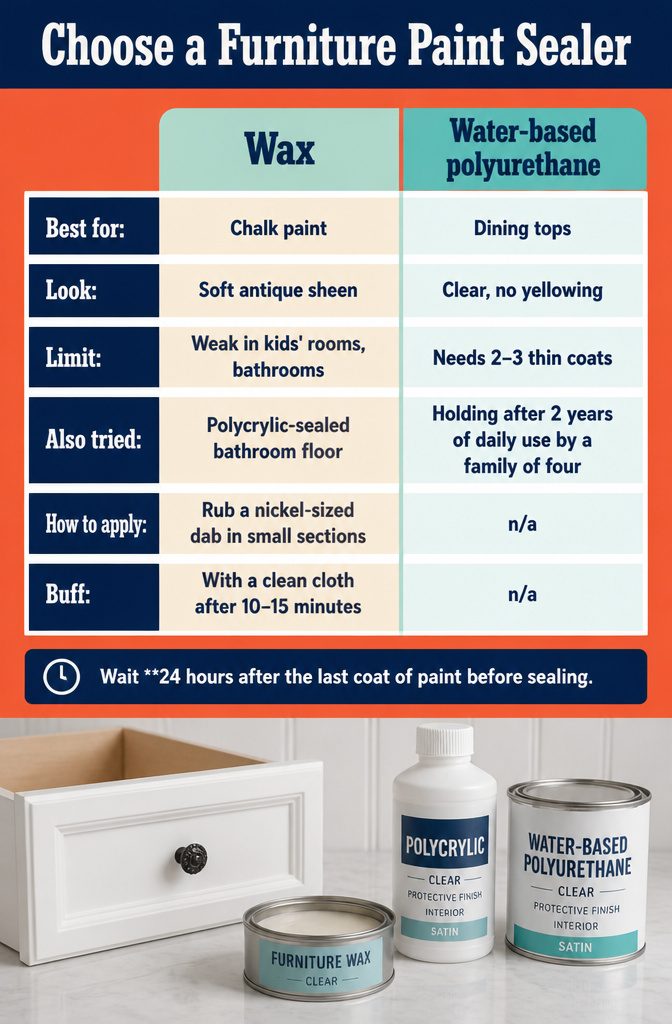
Wait 24 hours after the last coat of paint before sealing. Polyurethane can yellow over white or very light paint, so I reach for Polycrylic or wax on pale pieces.
| Option | Best for | Look | Limit |
|---|---|---|---|
| Wax | Chalk paint | Soft, antique sheen | Weak in kids’ rooms, bathrooms |
| Water-based polyurethane | Dining tops | Clear, no yellowing | Needs 2–3 thin coats |
| Polycrylic | Dressers, nightstands | Gloss to matte | Use 2–3 coats |
| Clear coat (acrylic) | Latex paint | Invisible | n/a |
A Polycrylic-sealed bathroom floor was still holding after 2 years of daily use by a family of four. For wax, rub a nickel-sized dab on in small sections, then buff with a clean cloth after 10–15 minutes.
8. Hardware and Decorative Finishes
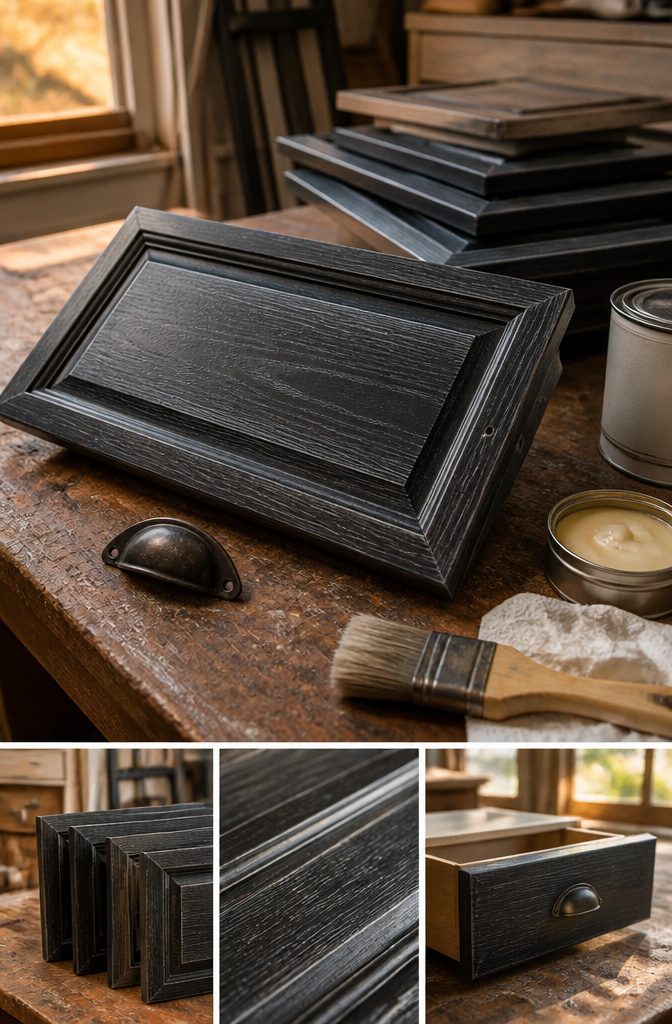
Hardware goes back on only after the sealant has dried completely, and the drawers slide in last. Screwing pulls into a tacky topcoat is how you end up repainting.
Everything after that is optional. Dry brushing is the fastest finish: dip a chip brush about 1/4 inch into a contrasting paint, wipe it on a paper towel until it looks empty, then drag it in one direction.
White over a dark finish brings out raised grain well. Wax in dark, white, or metallic gives an aged look and a soft sheen, but wax alone won’t protect a piece in a bathroom or kids’ room.
Polycrylic does that job. Distressing, liming, metallic effects, and crackle are other routes, and a clean, plain finish is just as finished.
Brushes, Rollers, and Sprayers
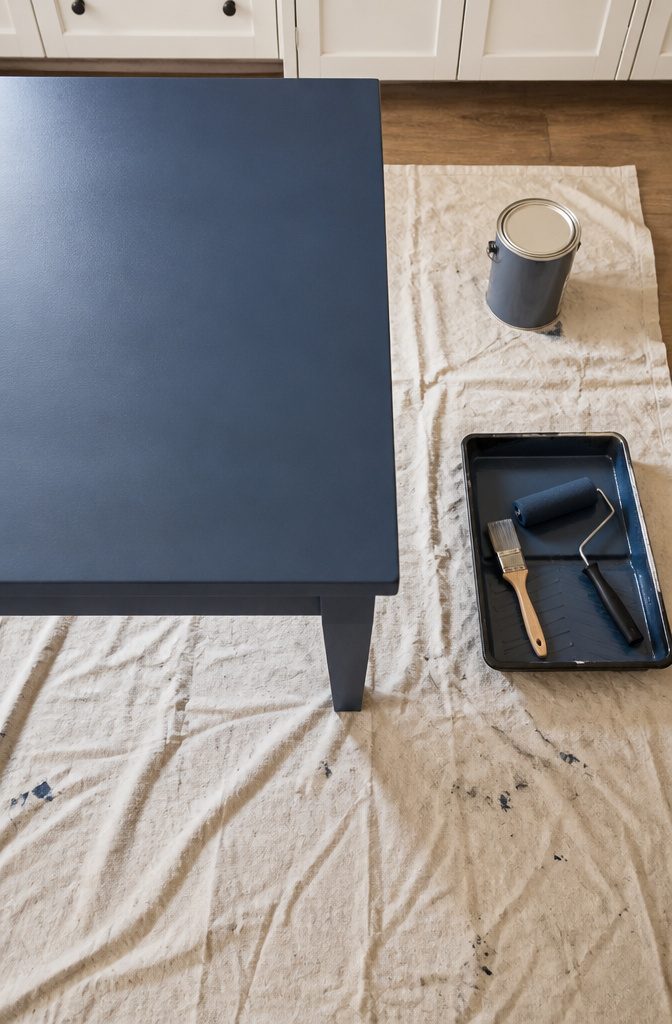
A brush and roller will do the job, and a sprayer is optional.
Sprayers give a factory-smooth finish, but they cost more, take real prep, and are tedious to clean, so I’d skip one unless you plan to paint a lot of pieces.
Roll flat surfaces with a small foam roller (4 inches works well), because bristles leave lines. Keep a 2-inch angled brush, Wooster or Purdy, for crevices and edges, and load it lightly so it doesn’t drip.
For paint, I’d pick satin in Benjamin Moore Advance or Sherwin Williams Emerald.
Both suit cabinets, doors, and dining tables. Dry to the touch isn’t cured, so wait the full time on the can before setting anything on top.
Painting Without Sanding
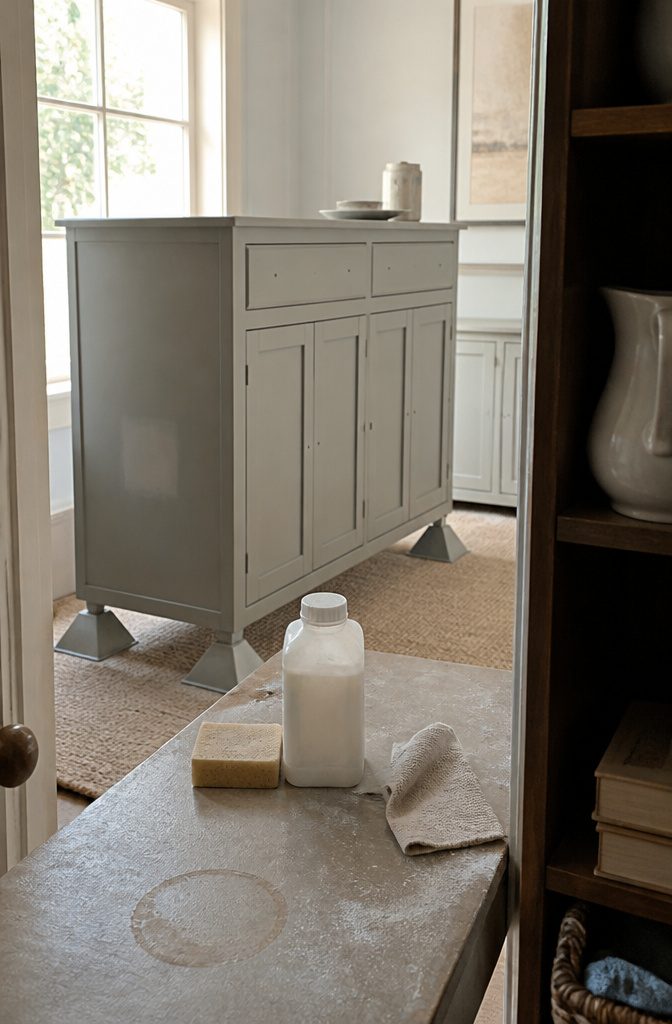
Sanding is the standard advice for painted furniture, and it is still the safer default.
One approach skips it for pieces in good condition: scrub the surface thoroughly with a TSP substitute, rinse, let it dry, then prime with BIN and paint.
The cleaning does part of what sanding would do, lifting the grease and grime that keep paint from gripping.
Skipping the first sanding doesn’t mean skipping all of it. Sand lightly between coats to knock down dust nibs and brush marks, and the finish stays smooth.
I can’t give you a reliable way to sort the pieces that qualify from the ones that don’t. Treat no-sanding as a shortcut for furniture that is sound and clean, and if you doubt a piece, sand it.
Outdoor Furniture Paint
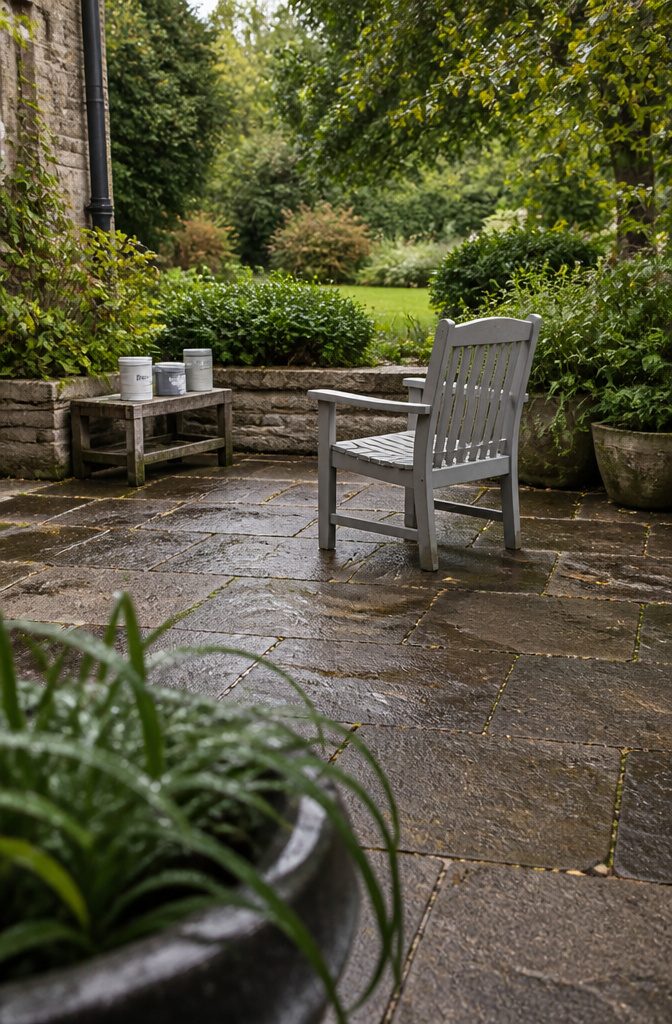
Outdoor furniture takes sun, rain, and temperature swings, so every product in the stack should carry an exterior rating:
- Primer: use an exterior-rated primer, not a general interior one.
- Paint: pick an exterior-rated paint for the topcoat.
- Putty: fill dents, gouges, and nail holes with exterior-rated putty.
- Caulk: seal seams and gaps with exterior-rated caulk.
- Bare outdoor wood: an oil-based paint made for outdoor use is the one I’d choose.
Check for the exterior rating on every can and tube before you buy. One interior product in the layers leaves a weak spot, and the weather will find it first.
Frequently Asked Questions
What is the best way to paint a piece of furniture?
Work in order: check the material, clean and repair, sand or degloss, prime, paint in thin coats, then seal.
Take off all hardware, drawers, and doors first, and put the hardware back only after the sealer has fully dried. Wait 24 hours after the last coat before sealing, since skipping steps is where most finishes fail.
Can I paint over old paint, or paint furniture without sanding?
Yes, if the piece is sound and clean. Scrub it with a TSP substitute, rinse, let it dry, prime with BIN, then paint and sand lightly between coats.
A chipped, peeling, or gouged finish needs real prep, including sanding with 80, 120, then 220 grit, and if you doubt a piece, sand it.
What happens if I don’t clean or prime furniture before painting?
The paint can fail to stick and peel off.
Leftover grease, grime, or wax blocks adhesion, and raw wood soaks up paint unevenly and turns blotchy. Over dark stain, skipping a stain-blocking primer can turn white paint pink.
How do you prevent brush marks on furniture?
Roll flat surfaces with a 4-inch foam roller, because bristles leave lines. Keep each coat thin and load your angled brush lightly for edges and crevices.
A light sanding between coats knocks down any marks that do show up. A sprayer gives the smoothest result, and it’s worth checking the can to see whether your paint needs thinning for one.
What is the best paint sheen for furniture?
Satin is a safe pick. It’s widely used on furniture and holds up well, and it suits cabinets, doors, and dining tables.
Benjamin Moore Advance and Sherwin Williams Emerald both come in satin. The final choice depends on the look you want.
Do you need a sprayer to paint furniture, or is brushing better?
No, a brush and roller will do the job.
A sprayer gives a factory-smooth finish, but it costs more, takes real prep, and is tedious to clean. It’s only worth it if you plan to paint a lot of pieces.